My blog has moved!

You should be automatically redirected in 6 seconds. If not, visit
http://www.unpastiche.com
and update your bookmarks.

Showing posts with label Pies/Tarts. Show all posts

Monday, July 9, 2012

Fig Tartlets with Goat Cheese

I have been rather quiet on the blog the past week or so, because I'm on holiday! Once again I'm in Sydney, and it's been awesome to get away from the humidity and do some seasonal grocery shopping! :] I enjoy grocery shopping and puttering around in the kitchen in Sydney so much so that Jon always asks me if I'm visiting him or his kitchen when I'm here ;p

Winter in Australia is great, because I got to go skiing (=D) and winter produce is ah-mazing! There's tangelos, tamarillos, fennel, figs, chestnuts, and the list just goes on! I also took the opportunity to get myself some Meredith Dairy fresh chèvre, or fresh goat's cheese. I first tasted the cheese in a wine tasting in Hunter Valley, paired with some Semillon wine some time back, but the beautiful smoothness of the cheese has been at the back of my mind ever since. It's an Australian outfit, which has won countless awards for their beautiful goat cheeses, which are bred in their own farms. So when I saw a small pack retailing at a gourmet grocer's, I snatched it up. It was quite costly - a 150g pack put me back A$11, but it's worth it because I just had some on a toasted sourdough bread and I loved it! It's not as pungent as the other goat's cheese, and has a slight acidic sweetness that would go really well with figs!


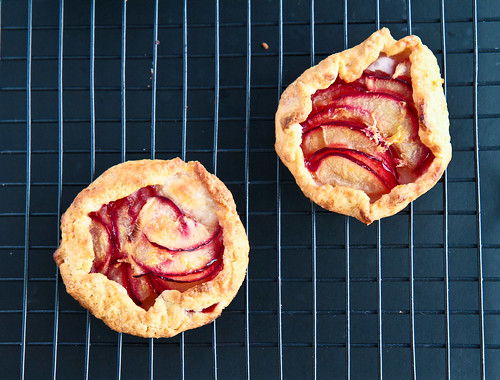
The pictures are actually my fig tart attempt from the end of last year, when it was fig season in Singapore, and looking at the figs at the market here reminded me of them. I'm definitely going to recreate this some time soon, with my Meredith Dairy's chèvre and Australian figs :] 

Fig Tartlets with Goat Cheese
Inspired by Scandi Foodie's fig tart
Makes 6 3-inch tartlettes 
1 portion of tart crust (you can use a half-portion of my pâte brisée recipe or a full portion of my semolina cream cheese crust for more bite)
4 fresh figs, cut into eighths or sliced as desired
50g goat cheese
4 tablespoons balsamic vinegar, caramelized or reduced
Almonds or walnuts, crushed

Method
  1. Prepare the tart crust and blind bake the tarts, until golden brown. (As you can see, my tart baking requires some more work - the edges are uneven >.<)
  2. Allow the tart crusts to cool while you prepare the other ingredients. Add four tablespoons of balsamic vinegar into a small saucepan and allow it to reduce over a low heat for about 5 minutes. Cut the fresh figs into eighths and toss them in the caramelized/reduced balsamic vinegar before arranging them in the cooled tart crust. You should also pour the vinegar liberally into the tart crust. Scatter some chopped nuts into the tart. Finally, crumble goat's cheese on the tart before serving. Eat immediately. 


Janine's jots: 
  • Other serving ideas: For more savoriness, caramelize some red onions in the balsamic vinegar, and throw in some chives, black pepper and parmesan. You can also throw in some arugula and tomatoes like what I did in my fig salad. You can go for a sweet tart by macerating some strawberries in the balsamic vinegar, then adding the fresh figs and goat's cheese to the pre-baked tart crust. If you are not a fan of balsamic vinegar, swap it for a honey syrup.
  • Taste: I am biased to anything balsamic, so it's of no surprise that I love how the acidity of the vinegar cuts through the sweetness of the tarts and somehow also compliments the slight tang of the goat's cheese. I cannot decide if this tart should be categorized as sweet or savory, because there's just an explosion of both types of flavors when you bite into the tart. 
  • Texture: I loved the different textures in this tart - the tart crust was crisp and buttery, and then there was the 'squishiness' of the figs, the creamy goat cheese, followed by little bits of walnuts and almonds which I had scattered on the tart. 
  • Storage: Once assembled, the tart has to be consumed on the same day, otherwise the crust will turn soggy. If unassembled, the baked tart crust lasts for at least a couple of weeks in an airtight container. Figs then to spoil rather quickly, so consume within a few days. 
  • Would I make this again?: Definitely! Assuming I get my hands on more firm figs over the next few days, I'm looking forward to making a sweet fig tart :]


I'm off to enjoy what's left of my holiday :] Things here will be a little quiet still, because I've a couple of (personal) projects and deadlines due, but I hope to come back real soon because I've exciting news to share! :]

Tuesday, February 7, 2012

A Review on Pineapple Tarts - attempting 6 different recipes and many batches

I had wanted to post this yesterday, on Chap Goh Meh, or the 15th day of Chinese New Year to round up the last of my CNY themed posts, but work came up and I couldn’t finish the post in time.

So here it is, one day after the last day of CNY, which is rather apt as well since this is my concluding and round-up post for all the festive baking I’ve been doing. I know many people do their cookie baking in December, because Europeans and Westerners in general tend to associate cookies with Christmas. For myself however, the cookie mania starts the month before Chinese New Year, whenever that is. This year, I’ve actually baked about 20 varieties of cookies, playing around with different recipes. Eventually I think I went back to my kampong bringing 16 types of cookies, most of which had good reviews from my relatives. I still have loads more cookies I want to attempt, but I’m shelving them for next year, and who knows, I might come up with even more ideas the next time.

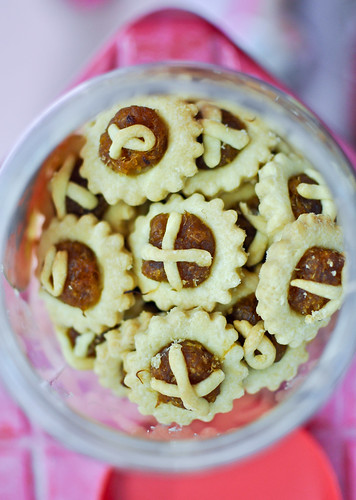
Some of the cookies packed in jars ready to be brought back to my grandma's

So anyway, I started making pineapple tarts about one month ago, slightly after Christmas. This year, I had a goal – to find the best pineapple tart cookie by trying as many recipes as I could and deciding upon the best. I’ve to admit that I’ve failed in this endeavour, because there were pros and cons to each recipe, but I’m glad I tried that many recipes, because it helped me distill what I liked and didn’t like for each recipe. This I believe puts me in better stead of pineapple-tart making next year :]

These are the sum total of recipes that I tried, which I've divided into two categories:

Recipes with 'melt in the mouth' texture, suitable for enclosed tarts:
  1. Youfei's recipe
  2. Agnes Chang's recipe (similar to Lai Kuan's and SSB's
  3. Little Teochew's recipe
Recipes with a more solid sturdy texture, suitable for open-faced tarts:
  1. My mom's friend Karen's recipe
  2. My grandaunt Rita's recipe
Along with these recipes that I've tried, I had also bookmarked a couple of other recipes, but I wasn't able to try them because well, I didn't have that much pineapple paste for that many tarts. Here's a short list of recipes that I'll probably try next year:
  • Anncoo (uses rub-in method)
  • Wendy (uses cream and cream cheese)
  • Sonia (uses condensed milk)
  • Tracie (uses rub-in method as well)
  • Ah Tze (uses only ghee)
  • Peng/HHB (uses creaming method)
  • ZY (uses rub in method)


I'll just start by saying that although I did make and try 6 different recipes, I don't believe I've found 'the one' yet, because there are things that I both liked and didn't like with each recipe, but I think with some tweaking any of these recipes could easily be it. There are basically two methods of making pineapple tarts, the creaming method and the rub-in method. I'll start by writing in detail how each of these methods work, because besides the difference in ingredients, everything else will be identical.

Creaming method:
  1. Sieve dry ingredients (which may include flour, corn flour, salt, baking powder, milk powder, custard powder) together. Set aside.
  2. Beat butter and cream together with sugar until lightened and fluffy. Add in vanilla extract.
  3. Add in the egg yolks and mix until well combined.
  4. Slowly beat in the flour mixture until just combined. Once the flour comes together, stop mixing. Shape the dough into a disc shape and leave it to chill in the fridge for at least 1 hour, or until slightly firm.
  5. In the meantime, divide the pineapple paste into equal sizes, rolling them into balls.When ready to make the tarts, remove the dough from the fridge.
  6. For enclosed tarts, weigh and roll the dough into equal sized balls. Flatten the balls into a round disc and place the ball of pineapple paste in the centre. Pinch the seams of the dough disc together and give the ball a quick roll. You can choose to shape the ball into a spherical ball, or make it slightly elongated and rectangular, or slightly oval to mimic pineapples.
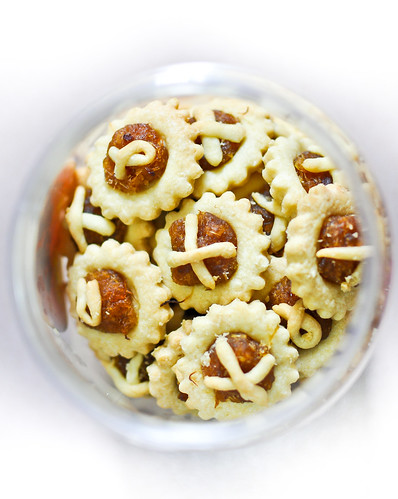
  7. For open-faced tarts, make sure that the dough is quite firm after at least an hour of chilling. Roll out the dough on a clean work surface (you don't need to flour the surface if the dough is buttery and firm enough) until you get the desired thickness. I tend to roll it to about 1 cm thick. Using your desired cutter, cut shapes into the dough. Then, proceed to place your ball of pineapple paste in the centre of the shape. You can also choose to put designs on the tarts as I've done.
  8. Once you're done, give the tarts an egg wash and bake in a preheated oven at 170°C for 18-20 minutes, or until golden brown. Make sure to turn the tray 180° at the 10-12 minute mark, to make sure there is even baking/browning all around.
Rubbing-in method:
  1. Sieve dry ingredients (which may include flour, corn flour, salt, baking powder, milk powder, custard powder) and sugar together. Set aside.
  2. Dice the butter into 3-cm large cubes and place them in the fridge until ready to use. Make sure the butter is really cold. Using a pastry cutter or a fork or your fingertips, rub the butter cubes into the dry ingredients until you get flattened pieces of butter coated with flour and the mixture resembles bread crumbs.
  3. In another bowl, beat together the egg yolks, vanilla and cold water (if any). Add it into the butter mixture and using your fingertips, gently combine the wet and dry ingredients, pressing gently until a dough is formed. Do not knead the dough excessively because you do not want the butter to melt! Wrap the dough in plastic wrap and chill in the fridge for at least 30 minutes to 2 hours.
  4. In the meantime, divide the pineapple paste into equal sizes, rolling them into balls.When ready to make the tarts, remove the dough from the fridge.
  5. For enclosed tarts, weigh and roll the dough into equal sized balls. Flatten the balls into a round disc and place the ball of pineapple paste in the centre. Pinch the seams of the dough disc together and give the ball a quick roll. You can choose to shape the ball into a spherical ball, or make it slightly elongated and rectangular, or slightly oval to mimic pineapples.
  6. For open-faced tarts, make sure that the dough is quite firm after at least an hour of chilling. Roll out the dough on a clean work surface (you don't need to flour the surface if the dough is buttery and firm enough) until you get the desired thickness. I tend to roll it to about 1cm thick. Using your desired cutter, cut shapes into the dough. Then, proceed to place your ball of pineapple paste in the centre of the shape. You can also choose to put designs on the tarts as I've done.
  7. Once you're done, give the tarts an egg wash and bake in a preheated oven at 170 degrees for 18-20 minutes, or until golden brown.

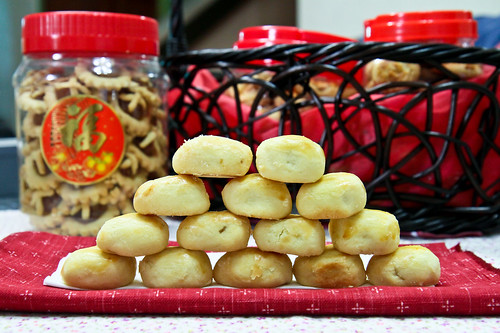
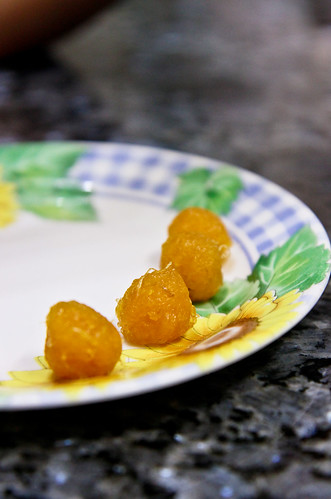
Very importantly, I forgot to add that I use my mom's recipe for the pineapple paste and she does it the old-fashioned way - grating the pineapples by hand (no blender please!) so that you can the fibrous strands that you can see in the enclosed tart photo below. Here's the link to my mom's recipe. I'm really can find no fault with the recipe, so I haven't really bothered with trying other recipes floating about the internet. And don't get put off by the fact that pineapple jam takes long to make - it is in fact exactly like any other fruit jams and it really doesn't take a whole day. If you cut and grate the pineapples quickly enough, then cook the jam right after, it'll only take you say 4 hours at the most? It's best if you have a side-kick like me and my mom, so one person does the cutting and grating and the other does the constant stirring on the stove :]


Preliminary notes: There were things I both liked and disliked about each recipe, and I'll be briefly jotting them down below.

Recipes with 'melt in the mouth' texture, suitable for enclosed tarts:

Youfei's recipe
(rub-in method)

180g butter
¼ tsp salt
250g all-purpose flour
20g corn flour
10g milk powder
50g icing sugar, sifted

1 yolk
¼ tsp vanilla

Comments: I actually made two batches of this recipe, because I liked the melt-in-the-mouth texture that this provided. However, I found it too sweet, so I decreased the icing sugar to just 20g for the second batch and upped the vanilla to half a teaspoon. Definitely a recipe that I'll turn to again next year.

Agnes Chang's recipe
(uses creaming method)

220g unsalted butter
50g castor sugar (or icing)

½ tsp vanilla
2 yolks

360g all-purpose flour
10g corn flour
8g milk powder
¼ tsp salt

Comments: I thought the sugar amounts here was just right, although I would increase the vanilla to 1 teaspoon because I personally don't like the taste of yolks. I would also increase the milk powder slightly more the next time around. This recipe got quite a lot of raves from my relatives for its tenderness and melty texture, although I'm personally not a fan because I thought it stuck to the roof of my mouth too much. 

 Little Teochew's recipe
(rub-in method)
400g all-purpose flour
50g corn flour
¼ tsp salt
280g cold, unsalted butter
3 egg yolks, beaten
½ tsp vanilla
3 tbsp cold water
6 tbsp icing sugar

Comments: I found the dough too soft because too much water was added. Next time round, I'll decrease this to 1 tablespoon instead. Taste-wise, I didn't think there was much of a difference between this recipe and the previous one above.  

Recipes with a more solid sturdy texture, suitable for open-faced tarts:
Lily's Open-face Pineapple Tart Recipe
(uses rub-in method, or use a food processor)

280g flour
1tsp baking powder
¼ tsp salt
1 tablespoon sugar

110g butter
56g margarine

1 yolk
½ tsp vanilla

2-4 tablespoons chilled water

Comments: This produced one of the sturdiest tarts ever, but the tarts were way too bland. I thought a little bit more sugar and some milk powder would help. Definitely like it because it handles very well for open-faced tarts.

Karen's Pineapple Tart Recipe
(uses creaming method)

140g margarine
120g butter
40g icing sugar

2 eggs

370g all-purpose flour
40g corn flour
¼ tsp salt

Comments: Since this is my mom's friend's recipe, I'm quite biased towards it because I thought it was a pretty good recipe to begin with. I did more tweaking for it the second time around, using 220g butter and just 40g of margarine to give it that crispiness. I also substituted some corn flour with milk powder to enhance the taste. Another recipe that I'll try again next year for open-faced tarts.


Rita's Nyonya Pineapple Tart Recipe
(uses rub-in method)

400g all-purpose flour
250g salted butter
1 egg
40g sugar
(optional: ½ tsp vanilla)

Comments: This is probably a recipe which is more than 50 years old. My grandaunt has been using this recipe since a long long time ago, and you can probably tell that it is an old recipe because it doesn't contain much frills. The original recipe has just 4 ingredients - butter, flour, egg and sugar. And this was the recipe that my mom used for a decade or more, before I stepped in with my experiments ;p This is definitely a versatile recipe for both open-faced and enclosed tarts, and I believe most other nyonya or nastar rolls will use similar recipes. In fact, the original recipe makes use of margarine, which gives it a very crisp texture. In my attempts using this recipe, I used unsalted butter with a half teaspoon of salt, and a teaspoon of vanilla, and substituting 20g of flour with milk powder. Delicious!


Janine's jots: 
  • Serving size: Most of these recipes make use of a block of butter or thereabouts, and with this amount, you can probably make 80-100 pineapple tarts, depending on whether it is the enclosed or open types, and how large your tarts are.
  • Storage: Separately, you can store the pineapple paste in an air-tight container in the fridge or freezer for up to a year. The paste does not freeze in the freezer because of the sugar content and yes, I've tried using a year-old paste which my mom made the previous year. You cannot tell the difference after it's baked. For the dough, you can make it up to a week in advance, although I would advise making it a maximum of three days before lest the 'fridge' smell seeps into the dough. After you've baked the tarts, wait for them to cool completely and store them in air-tight containers. They will laste for about a month before they lose their crispness or tenderness.
  • Would I make this again?: Definitely! And I'm going to go about it more scientifically next year so that I can definitively come up with "the best" pineapple tart recipe!
  • Other comments:
  • You will realize that actually, the proportions are largely similar. In fact, I did a brief calculation of the proportions of butter to flour, which I think is the main factor affecting taste and texture in the tarts, and the recipes range from a 0.58-0.65 ratio of butter/fat to flour. Of course, within these ratios itself, you could probably play around with using shortening, margarine, ghee or butter or even cream cheese, all of which will impact upon the flakiness and 'shortness' and tenderness of the tart. I haven't tried all combinations, but I personally like using all butter for the enclosed version, and using some margarine or shortening when I need the open-faced tarts to be more crispy.
  • The other difference of course is choosing to use corn flour to substitute for some of the all-purpose flour. I think there is a difference in how sturdy the tart turns out, but I also believe that using cake flour, or triple-sifted all-purpose flour might also do the trick. Custard powder is actually yellow-colored cornstarch/flour, so please don't be fooled and go all the way to buy custard powder. You can actually use the same amount of cornstarch together with 1-2 drops of yellow coloring to get the same effect.
  • Another thing about the dry ingredients or flour proportions is that I like the addition of milk powder because I find that it gives the tart a nice milky flavour. You can substitute about 5g of milk powder to every 100g of flour required in the recipe, or you can experiment and find which quantities you like best. Alternatively, if the recipe requires the addition of cold water, you can substitute that with cold milk. I've tried that in some of the recipes above and it works the same, although the milky flavor is not as intense because so little milk is added.
  • If you notice, there are varying amounts of egg being used - some use the whole egg, while most tend to use just the yolks. From what I know from food science, the yolk provides the moistness and tenderness, whereas the white provides the structure; so if you use the whole egg, it is likely that you'll get a sturdier crust whereas if you use just the yolk, you'll get a more tender crust.
  • For sugar, you can use icing sugar if you want a meltier texture, but otherwise, castor sugar works fine as well. I don't like my tart crust to be too sweet, because the pineapple paste is already sweet, so I tend to use about 30g of sugar to 250g of butter for the recipes.
  • I have no idea how the creaming or rub-in method affects the tart, because I didn't actually attempt making a single recipe using varying methods. I can probably generalize it by saying that it is likely that rub-in method gives you a melt-in-your-mouth, tender texture, but then again, the creaming method can also provide the same results (see Agnes Chang's recipe above). So the method probably does affect the end-product to some extent, although I'm not sure what. Anyone has any idea?

Saturday, September 17, 2011

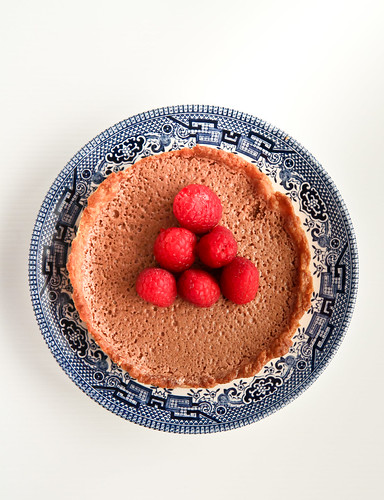
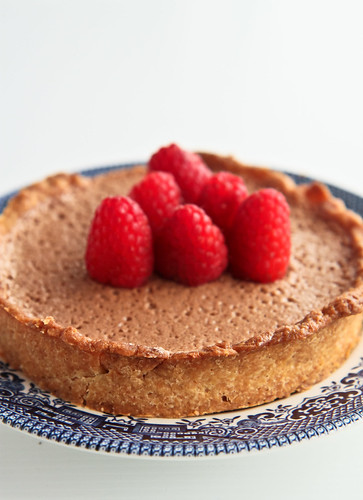
A Simple Raspberry Chocolate Mousse Tart, inspired by Pierre Hermé

I made this because I was greedy and I bought a lot of raspberries which were on sale and since they rot very fast, I was thinking of ways of disposing them - eating them as they are, on tarts, and in muffins and cakes. And also because I was craving for some chocolate mousse and I wanted to try out my new tart ring. I've never had a tart ring before - it literally is a ring which you place on a baking tray and mould your tart. I so very much wanted those professional looking tarts but mine turned out rather rustic looking (that's a nice way of putting it). Needless to say, the tart ring worked like a dream, but I want those smaller ones because a 5-inch ring is too big for anyone to consume in a single sitting!


Onto the mousse, I have to say that I really really like Pierre Hermé’s chocolate mousse. It takes longer than usual to set – taking at least 24 hours to reach a mousse-like consistency, but the results are fantastic. In a tart, they settle to form a caramel-chocolate like base with the chocolate mousse top. It is soft, pillowy, and absolutely delicious! It's really strange but the bottom layer really does taste like a rich chocolate caramel. This is however, not the recipe you would want to use if you’re looking for an aesthetically pleasing tart. The mousse should really be eaten as a mousse and is not apt as a tart filling, because it is very holey due to the air incorporated. But there's nothing that a dusting of cocoa powder wouldn't help with, isn't it? ;p 


Chocolate Mousse Raspberry Tarts 
Makes enough to fill 2 5-inch (12-cm) tarts 

You will need 1 portion of the pie crust recipe (sufficient to make a 9-inch pie), a portion of the chocolate mousse recipe below as well as a few raspberries to top the pie. You can also choose to line the base of the pie with some raspberry jam, which I did with my homemade raspberry jam (same method with different ingredients) :]

Pie Crust 
Blind bake it your favorite pie crust recipe. My two favorites (for the moment) are Bourke Street’s and Cook’s illustrated. However, I baked this tart using my Semolina Cream Cheese Pie Crust recipe. 

Chocolate Mousse
adapted and translated from Pierre Hermé's Le Larousse du Chocolat
Serves 4 small portions

85g bittersweet chocolate 
40g whole milk
10g egg yolk
60g egg whites
20g castor sugar

  1. Chop chocolate into chunks and place it in a bowl over a bain marie, or a simmering pot. Make sure the water is simmering and not boiling. Melt the chocolate and put it aside. 
  2. In the meantime, bring the milk to a boil. Pour it into the bowl containing the melted chocolate and whisk to combine. Add in the egg yolk and whisk until fully incorporated. 
  3. Whip the eggs whites on medium speed until they reach a soft peak. Add in the sugar 'like rain' (in a slow steady stream) and increase the speed to medium until you get a firm and glossy peak. The chocolate mixture should be cooled by the time the egg whites are ready.
  4. Add a third of the egg whites to the chocolate mixture to lighten the mixture before gently folding in the remaining egg whites into the chocolate mixture. Stop folding once there are no white streaks. 
  5. You can pour the mousse into cups or into your pre-baked tarts. Chill for at least an 1 hour before consuming. It is best to chill it for at least a few hours so that the mousse can set properly. 

To assemble: 
  1. Blind bake it your favorite pie crust recipe. Once the crust turns a golden brown, remove from the oven and allow it to cool. 
  2. Begin making the mousse once the pie crust is out of the oven, by following the method above. Once you have folded in the egg whites into the chocolate mixture, immediately pour it into your baked tart crust. Otherwise once the mousse sets, it is hard to scoop or transfer it from the cup to the tart. If you wish, spread some raspberry jam on the bottom of the crust before adding the chocolate mousse. 
  3. Allow the tart to chill in the refrigerator for at least 3-24 hours (preferably) before consuming. Garnish with some fresh raspberries before serving. 

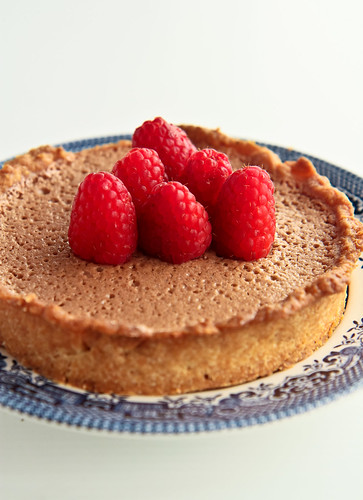
Check out my 'holey' tart and that strange streak of light from the top right. 

Janine's jots: 
  • Notes: Do note that Pierre Hermé does have a number of chocolate mousse recipes, but I really like this one because of the caramel-y like layer it produces and the lack of whipping cream used.  
  • Taste: I really like the contrast of chocolate mousse and raspberries - I intentionally used a milk chocolate here, to go with the tart raspberries I had, and the combination was lovely - each bite was filled with a tart raspberry jam on the bottom, the milky sweet chocolate mousse and another tart, seedy raspberry. YUM.
  • Texture: I felt that the tart could have benefited from a more substantial tart crust, i.e., one with less bite from the semolina and with a slightly more buttery texture. Nevertheless, I liked the rustic-ness of the tart, from the hole-y mousse to the uneven tart crust and its almost-grainy texture to the tiny pyramid of raspberries which I dug into immediately. 
  • Serving size: This tart might be a tad big for one person to have for dessert, it's a nice dessert to share. I however had no such problem. The mousse was sufficiently light on the palate, and the crust being a semolina one, didn't leave me with a gelat aftertaste. Together with the tart raspberries, I found able to stomach more of the tart than expected. 
  • Modifications: This recipe has been halved from the original and the sugar amounts have been decreased. Do note that the texture of this mousse is lighter if served after the brief chilling. However, you can cover and store in the refrigerator for up to 3-4 days, the texture will be much more dense.
  • Storage: The tart keeps well in an air tight container in the refrigerator for up to 2 days. After that, the tart crust becomes soggy because of the chocolate mousse. If you wish to keep it for longer, keep the mousse and pre-baked tart crust separately before filling it with the mousse and chilling it briefly again before serving. 
  • Would I make this again?: Definitely, this is not the first time I've made this chocolate mousse recipe and is definitely not the last!
One final look at this yummy tart :D

Thursday, September 1, 2011

Aspiring Bakers #10: Easy as Pie (August 2011) [ROUND-UP]

This month was a pretty hectic month for me, school-wise, but each time I had an incoming email alert, my heart would leap, because I knew that it would be yet another fantastic pie/tart entry by you guys. It was heartwarming to know that it was the first time or had been a long time since some of you attempted making pies or tarts, so I'm glad that my purpose for hosting this month was fulfilled. I'm glad that this edition of Aspiring Bakers managed to pull you out of your comfort zone, and thank you, to each and everyone one of you for showing such great support this month. 

In total, I received a whopping 137 entries! I have done something slightly different in this round up, grouping the entries according to the type instead. Since I know that I personally will be  referring to this page very often when I need ideas for making pies and such, I figured that this method of grouping would be far more convenient. Within the categories, the entries are grouped according to the date received. Without further ado, here are the entries! :]


Pies
Sweet
美式苹果派 by 茄子 of 袅袅烘焙香

Apple Crumble Pie cum tarts by Jane of Mimibakeryhouse

Sweet Potato Pie by Li Ying of Happy Flour

Apricot Pie by Quay Po of Quay Po Cooks

Deep Dish Apple Pie by Agnes of Agnes Bakes

I {heart} Apple Pie by Wai Fong of Fong's Kitchen Journal

Chocolate S'mores Pie by Ah Tze of awayofmind

Vanilla Cream Pie by pook of dailydelicious


Peach Pie by Jane of Mimibakeryhouse

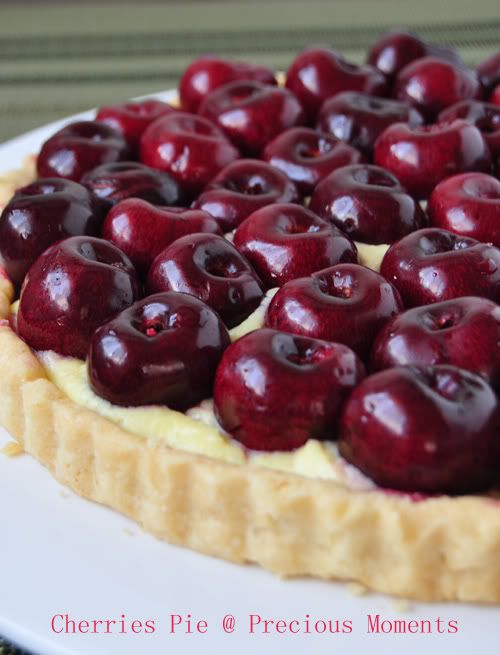
Cherry Pie by Edith of pReCiouS MoMentS

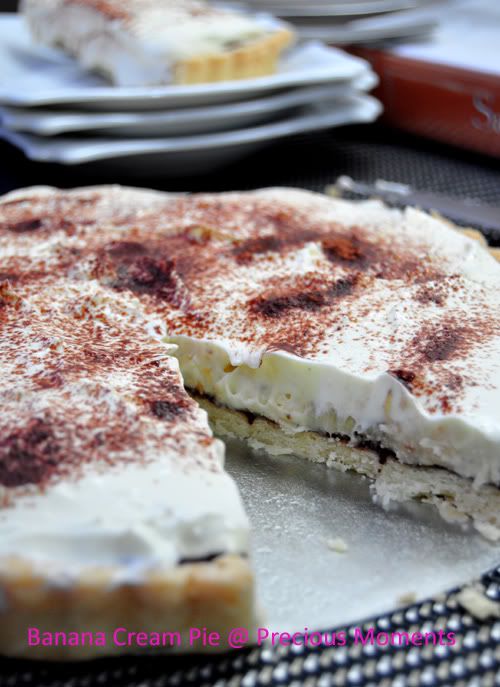
Banana Cream Pie by Ah Tze of awayofmind

Apple Crumble Pie by Yvonne of Muimui25

Banana Pie by Edith of pReCiouS MoMentS

Classic Apple Pie by Jasline of Food is my Life

Heart-shaped Strawberry Pie by Han Ker of Hankerie

Mini Apple Pie (迷你苹果派) by Miss B of Everyone Eats Well in Flanders

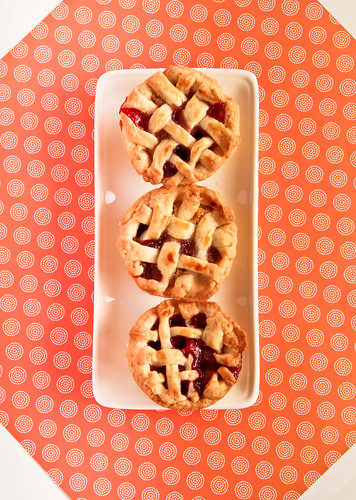
Cherry Rhubarb Mini Hand Pies by Janine

Apple Braided-Pastry Pie by Agnes ofAgnes Bakes

Chocolate Prunes Pie by Anncoo of Anncoo Journal

Pineapple Cheese Pie by Xandra of Xandra's Cooking and Baking Journal

Cherry Cheese Pie by Alice of I Love. I Cook. I Bake


Savoury 


Easy Chicken Pie by Lena from Frozen Wings


Mushroom Pie by Peng of Peng's Kitchen


Chicken Mushroom Potato Pie by Tigg3r from Tigg3r's Delectable Fare


Chicken Pie by Peng of Peng's Kitchen


Creamy Chicken Pie by Tigg3r from Tigg3r's Delectable Fare


 Yummy Chicken Pie by Jane of Mimibakeryhouse


Chicken Pie by Cheah of No-Frills Recipes


Potato Pie by Ann of Anncoo Journal


Potato Pie by Cathy of Cathy's Joy

Pizza and Hot Dog Pie by Gertrude of My Kitchen Snippets


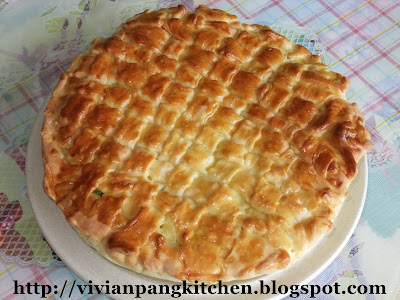
Chicken Pie by Vivian Pang of Vivian Pang Kitchen


Assam Prawns Cheese Pie by 茄子 of 袅袅烘焙香

Potato Pie by 茄子 of 袅袅烘焙香

Chicken Pie by 茄子 of 袅袅烘焙香

Chicken Pie by SSB of Small Small Baker


Tarts

Sweet

Fresh Peach Tart by Nel from The Batter Baker 

Mulberry Cheese Tart by Peng of Peng's Kitchen 

Lemon Yeasted Tart by Vivian of Vivian Pang Kitchen

Pandan Coconut Tart by Peng of Peng's Kitchen

Kiwi Creme Patissiere Tarts by Gladys of Just G Bakez

Blueberry Cream Cheese Tart by Han Ker of Hankerie

Laduree's Tartlettes Croustillantes Abricots ou Cerises by Alan from travellingfoodies

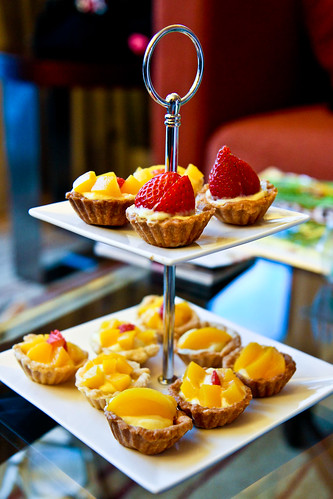
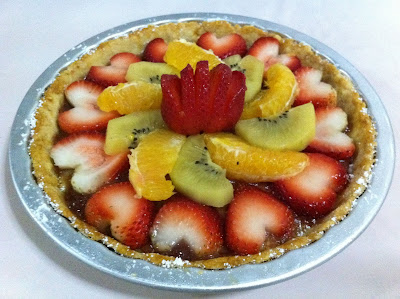
Fresh fruit tartlets by Janine of Not the Kitchen Sink!

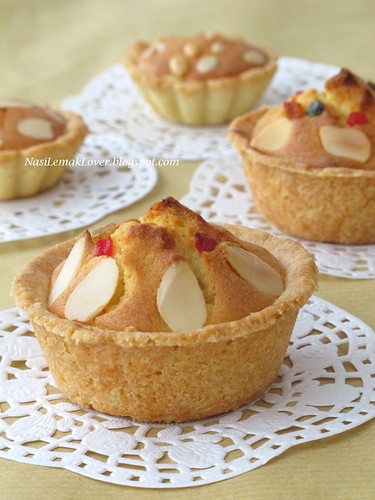
Butter cake tarts by Sonia of Nasi Lemak Lover

Pandan Egg Tarts by Peng of Peng's Kitchen

Marbled Baked Cheese Tarts by Jane of Mimibakeryhouse

Caramel Banana Coconut Tarts by Jane of Mimibakeryhouse

Cheese Tarts by Xandra of Xandra's Cooking and Baking Journal

草莓塔 by 茄子 of 袅袅烘焙香

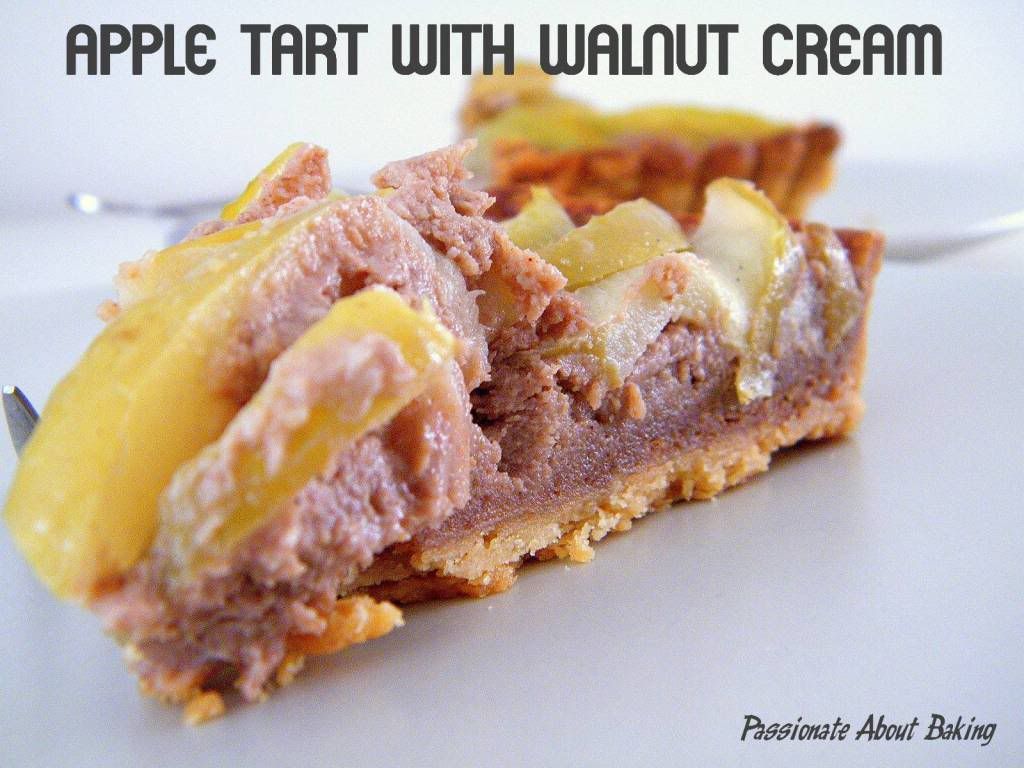
Apple Tart with Walnut Cream by Jane from Passionate about Baking

Apple Crumble Tart by Nel from The Batter Baker

Peach Frangipane Tarts by Gertrude of My Kitchen Snippets


Hui Qi who does not have a blog made a National Day Fruit tart, using the recipe from HHB except that she used homemade strawberry apple jam and the tarts are arranged differently.

Lemon Meringue Tart by Wai Fong of Fong's Kitchen Journal

Pecan Chocolate Tarts by Cindy of Yummy Little Cooks

Chocolate Muffin in a Tart by pink lady of Lucky Inn

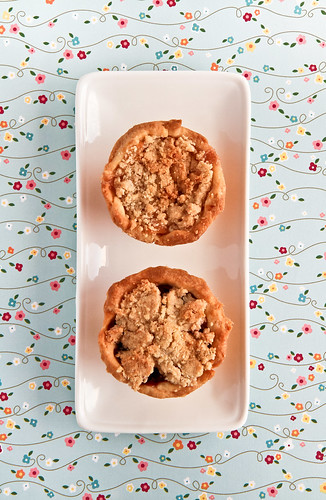
Mini Apple Crumble Tarts by Janine of Not the Kitchen Sink!

焦糖香蕉塔 by Esther of 我的厨房乐园

Mazarin tarts by Sotong of sotongcooks

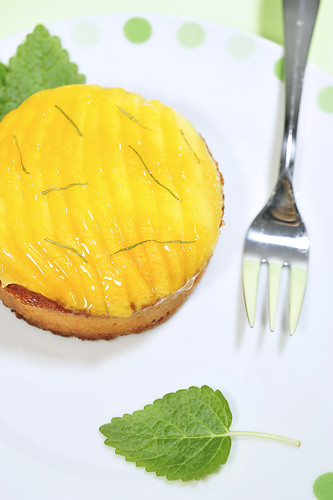
Mango Tarts by Vivian of Vivian Pang Kitchen


Alan of travellingfoodies made Tarte Bourdaloue aux pores

Eileen of Hundred Eighty Degrees made butter cake tarts

Mel Lee of Through the Kitchen Door made Red, White and Blue Cheesecake Tarts

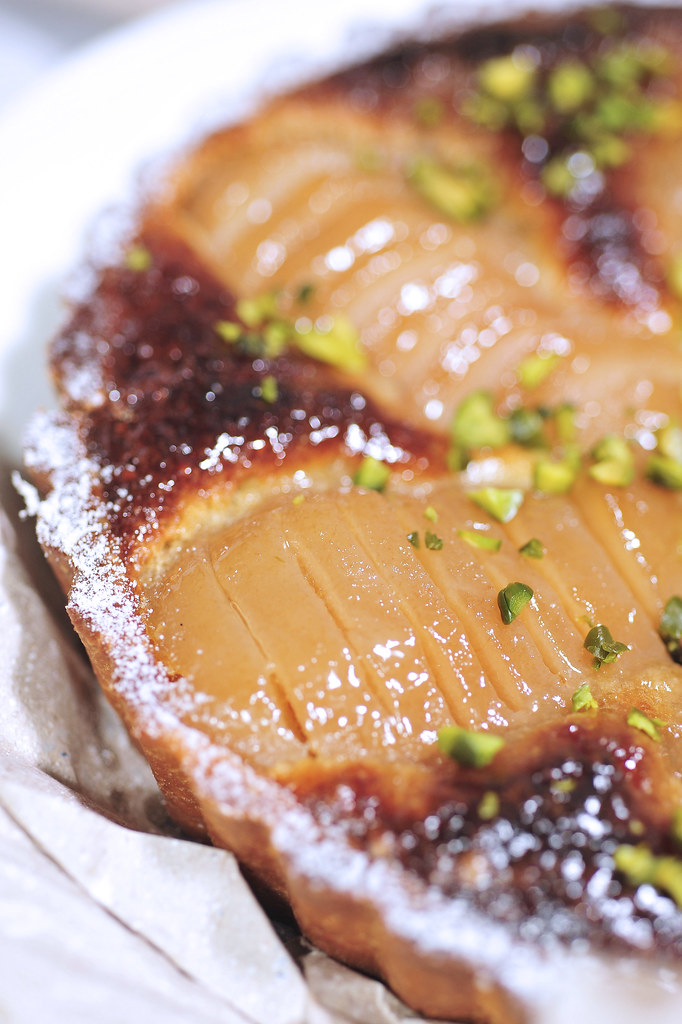
 Pear and Frangipane Tart by Jane of Mimibakeryhouse

Chocolate Chip Almond Pie cum Tarts by Jane of Mimibakeryhouse

Fresh Fruit Tarts by Jane of Mimibakeryhouse

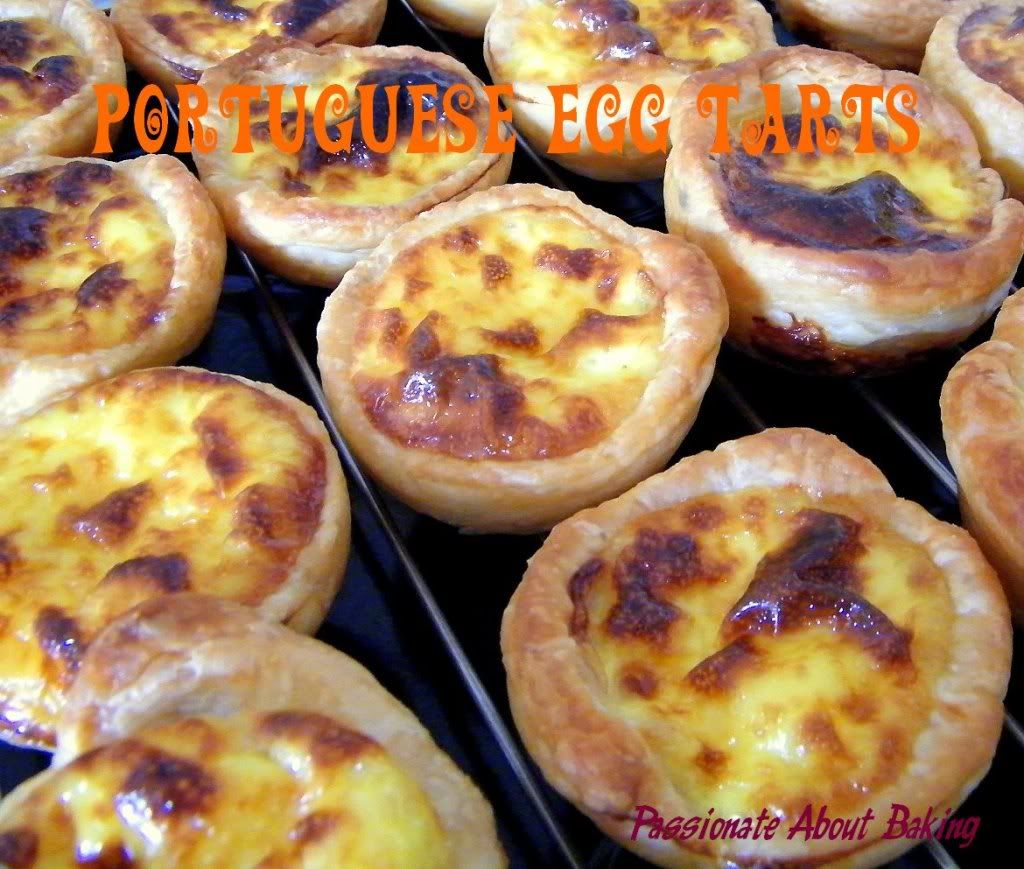
Portuguese Egg Tarts by Jane from Passionate about Baking

Lotus-shaped Pineapple Tarts by Faeez of BitterSweetSpicy Tales

Easy Peasy Portuguese Tarts by Han Ker of Hankerie

Dark Chocolate Peach Tart by Peng of Peng's Kitchen

Egg Tarts by Chris of Yummy Bakes

Bittersweet Chocolate Truffle Tart by Zoe of Bake for Happy Kids

Chocolate Banana Cake Tarts by Vivian of Vivian Pang Kitchen

Blueberry Cheese Tarts by Rachel Hei of ~温馨小厨~

Coffee Almond Tartlette by Li Ying of Happy Flour

Coconut Tart by MF of Cherry Potato

Apple Frangipane Tart by Happy Home Baker of Happy Home Baking

Fruit Tart with Egg Custard Filling by Cindy of yummylittlecooks

Peanut Butter Pie with Cookie Crust by Jean of Need More Noms

Lemon Curd Tart by Joyce of kitchen flavors

Blueberry Yogurt Tarts by Esther of 我的厨房乐园

Go Green with Kiwi by Han Ker of Hankerie

Black Sesame Seed Pandan Tarts by Ching of ching_ccy698

Flaky Egg Tarts by lena of Her Frozen Wings

Not a Cake this time but a Milky Fruit Tart by Aimei of My Baking Cottage

Strawberry Tart by Wai Fong of Fong's Kitchen Journal

Tarte Banane/Banana Tart by Poonam of Bites of Sweet and Spice

Banana Almond Tarts by Jane of Mimibakeryhouse

Lemon Tarts by Jane of Mimibakeryhouse

Green Tea Red Bean Tarts by Jane of Mimibakeryhouse

Flaky Egg Tart by Eileen of Hundred Eighty Degrees

Finnish Apple Tart by Agnes of Agnes Bakes

葡式蛋塔 by Abbymonster of Abbymonsterの歇息站

Warm Chocolate Souffle Tart by BB of HoneyBeeSweets

Mint Chocolate Cheese Tart by 茄子 of 袅袅烘焙香

Lemon and Chocolate Tart by Corinne of Spare Cake

Egg Tarts by SSB of Small Small Baker

Almond Pear Tart by Wai Fong of Fong's Kitchen Journal

Yogurt Fruity Tart by Li Ying of Happy Flour

Rustic Free Form Pear Tart by Sotong of Sotongcooks

Egg Tarts by Vivian Pang of Vivian Pang Kitchen

Berry Blueberry Tarts by Jasline of Food is My Life

Cream Cheese Fruit Tarts by XuePing of Feel the Happiness from Baking!

Easy & Delicious Egg Tart (Two Methods) 简单好吃的蛋挞 (两种做法) by Angel of Cook.Bake.Love

Tahiti タヒチ by Alan of travellingfoodies

Lemon Meringue Tart by Cathy of Cathy's Joy

黄绿配の爱心一口蛋塔 Mini Egg Tarts by Min of Min's Blog

Mini Walnut Tartlets by Aimei of My Baking Cottage

Plum and Almond Frangipane Tart by BB of HoneyBeeSweets

Egg Tarts with Puff Pastry by DG of Tested and Tasted

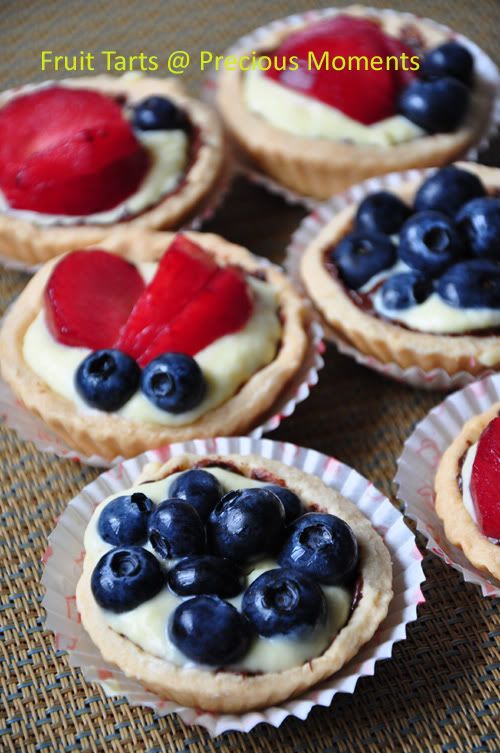
Fruit Tart by Edith of pReCiouS MoMentS

Pierre Hermé’s Tarte Ispahan by Alan of travellingfoodies

Rich Chocolate Tart by Alice of I Love. I Cook. I Bake

Blueberry Cheese Tarts by Quizzine of Baking on Cloud 9


Savoury 

Red Onion Tart with Cornmeal Crust by Joyce of Kitchen Flavours

Zucchini tarts by Wai Fong of Fong's Kitchen Journal

Eileen of Hundred Eighty Degrees made curry pie

Ching of ching_ccy698 made mini tarts

French Ratatouille Tart by Han Ker of Hankerie


Others 
Sweet

Vivian of Vivian Pang Kitchen made Lemon Oatmeal Squares

Food Processor Almond Danish Braid by Sotong of Sotongcooks

Apple Turnover by Cheah of No-Frills Recipes

Plum Galettes by Janine of Not the Kitchen Sink!


Savoury 


Cathy of Cathy's Joy made Spinach & Salmon Quiche

Ching of ching_ccy698 made not-so-standard quiche

Janine of Not the Kitchen Sink! made curry puffs

BB of HoneyBeeSweets made Bacon Mushroom Quiche Lorraine

Happy-bowl made Flaky Pastry

Han Ker of Hankerie made French Quiche Lorraine

Onion Galettes by Janine

Beef Korma Quiche by Faeez of BitterSweetSpicy Tales

Quiche aux Cèpes, the “Pseudoharu Aoki” way by Alan of travellingfoodies

但愿是好的开始之'烧包初体验 ' Siew Pau by Min of Min's Blog

Anyhow Quiche by Cindy of Cindy's Journal

Barbecue Chicken Pastry by Joyce of kitchen flavors


Sorry you had to scroll down that long list of photos, but I hope you were inspired by them to bake more pies and tarts!

For the month of September, HHB from Happy Home Baking will be hosting and the theme is Aspiring Bakers #11: Mid-Autumn Treats (September 2011). The closing date will be 30 September 2011 and all entries will be complied and posted by 1 October 2011.

For more details please do head down to her blog.

PS: If you have submitted your entry but you don’t find it in the roundup, do let me know (either comment below or email me) and I’ll check it out!
Related Posts Plugin for WordPress, Blogger...