
Chocolate Swiss Roll with Whipped Cream Filling and Dark Chocolate Ganache
Adapted from here and Rose Levy Beranbaum's The Cake Bible
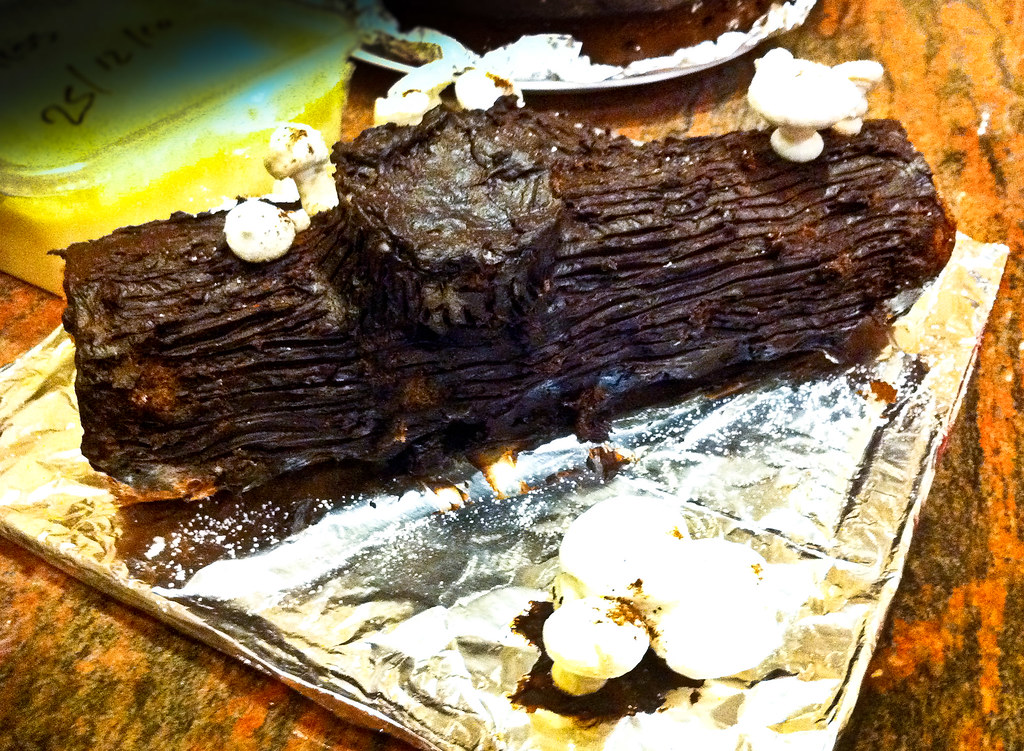 |
| Hastily taken photo of my first-ever decorated Christmas Log for the Xmas party |
Ingredients for Cake Roll
60g cake flour (I used 55g all-purpose flour and 5g corn flour, sifted thrice)
15g cocoa powder
95g castor sugar
30g butter
25g fresh milk
200g whole eggs (I used 4 whole eggs)
20g egg yolk (1 egg yolk)
Method:
- Preheat oven at 180°C. Place rack in middle of oven.
- Sift all-purpose flour, corn flour and cocoa powder. Set aside.
- Beat the whole eggs and egg yolk together on low speed. Once foamy, stream in the castor sugar before increasing the speed to high.
- Meanwhile, melt butter with milk in a microwave for about 20 seconds on low.
- Continue beating the egg and sugar mixture until 'ribbon' stage. This is when the batter leaves a ribbon-like trail which takes at least 10 seconds to disappear back into the batter. Once this stage is achieved, continue beating the mixture for another 1 minute on low speed to stabilize the mixture.
- Fold 1/3 of the sifted flour/cocoa into the batter, turning the bowl a quarter-turn (90°) in the opposite direction (anti-clockwise in my case).
- Continue folding the remaining flour in two portions until all the flour is well incorporated. The mixture will turn slightly brown, with dark brown spots - this is fine.
- Temper the butter/milk mixture (in step 3) by adding a small amount of the batter (about 2 tablespoons or so) and mix. This is to ensure that the egg batter will not curdle when the butter/milk mixture is added.
- Pour the mixture slowly into the batter and continue folding until well combined.
- Pour batter into a lined pan and bake for 12 minutes at 180°C (my oven runs slightly hotter, so I bake at 160°C for 16 minutes).
- For those with thermometers, the cake is done when the internal temperature reaches 90 -100°C. For the more conventional method of testing, insert a wooden satay stick (or toothpick) and if it comes out clean, the cake is done.
- Remove the pan from the oven and allow to cool for about 5 minutes.
- Place a tea towel (or any cloth) onto the cooling rack. Sprinkle some water, just a few drops to slightly dampen the cloth. This will ensure that the cake is just slightly moistened to ensure easy rolling. Turn the cake out of the pan and onto the tea towel. Starting from one end of tea towel, start rolling the cake into a roll and leave it on the rack to continue cooling before spreading with desired filling. The cake is rolled when still warm to enable easier rolling (and no cracking) later.
In Pictures
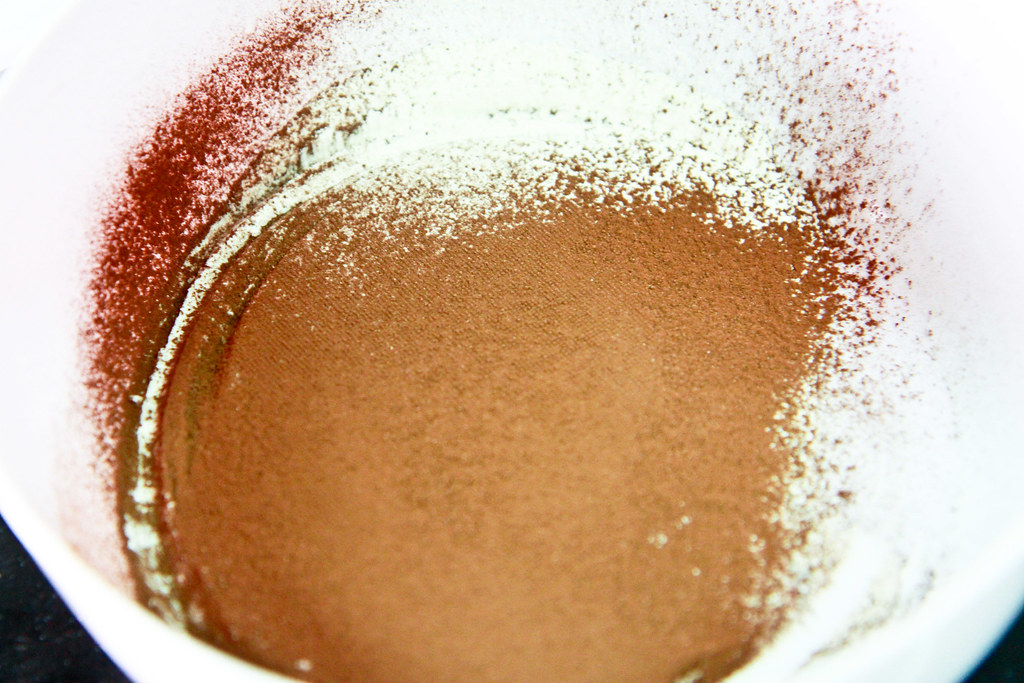 |
| Sift flour and cocoa powder twice. |
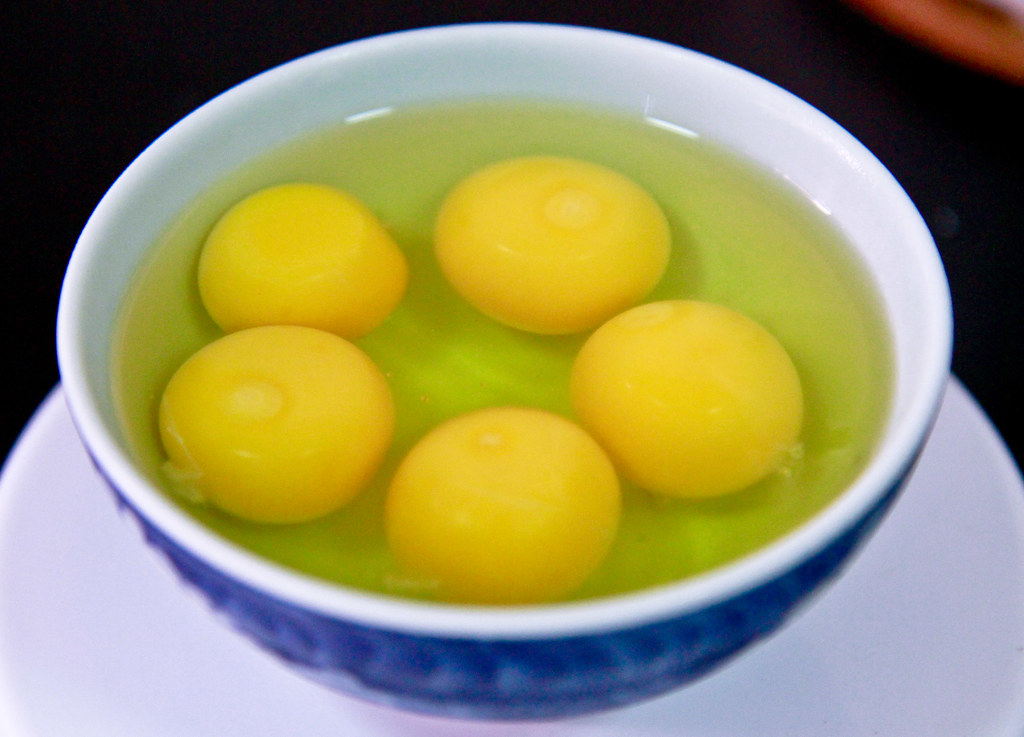 |
| Crack 5 eggs (but only use 4 whole eggs and 1 egg yolk). |
 |
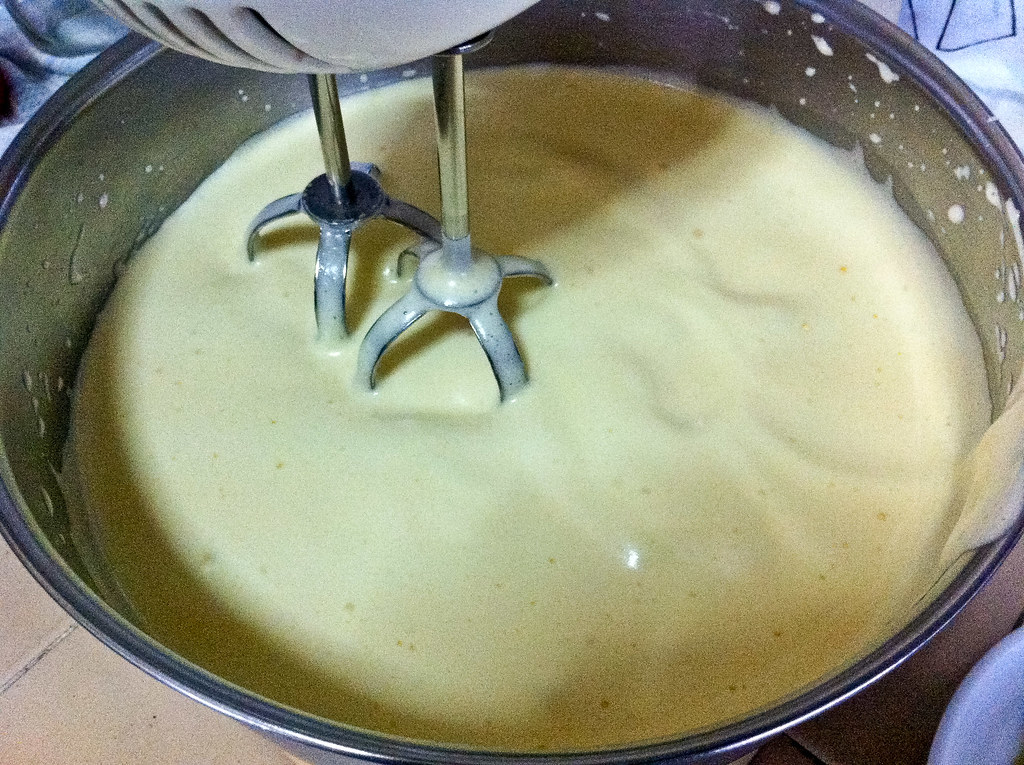
| Put the eggs in your stand mixer and whisk them! |
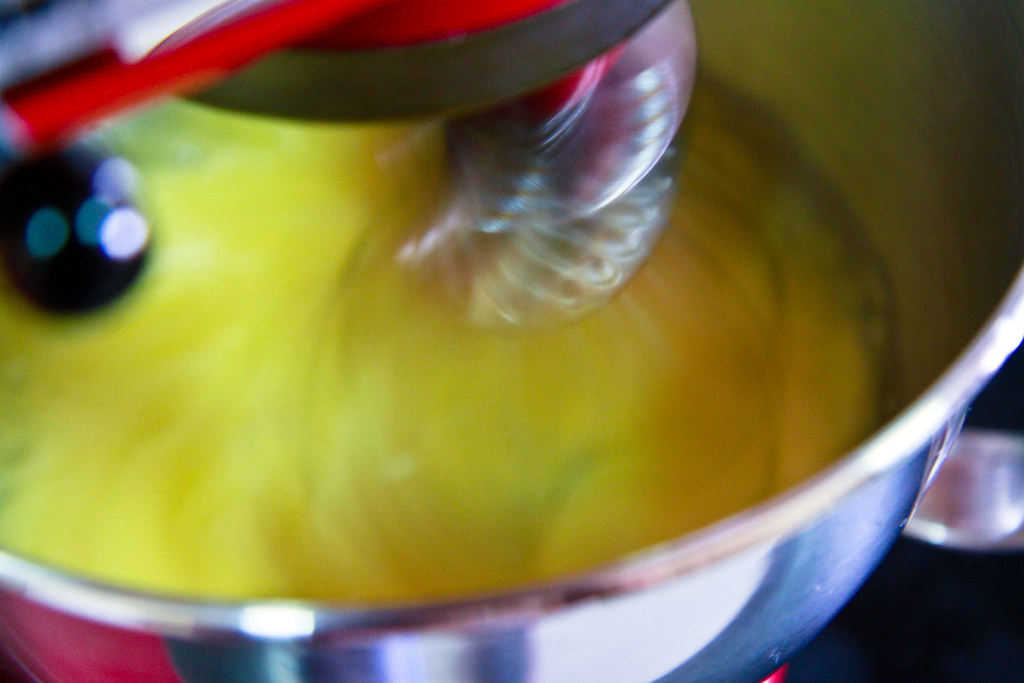 |
| Mixture will slowly lighten in color. |
 |
| This batter is still too 'watery'. |
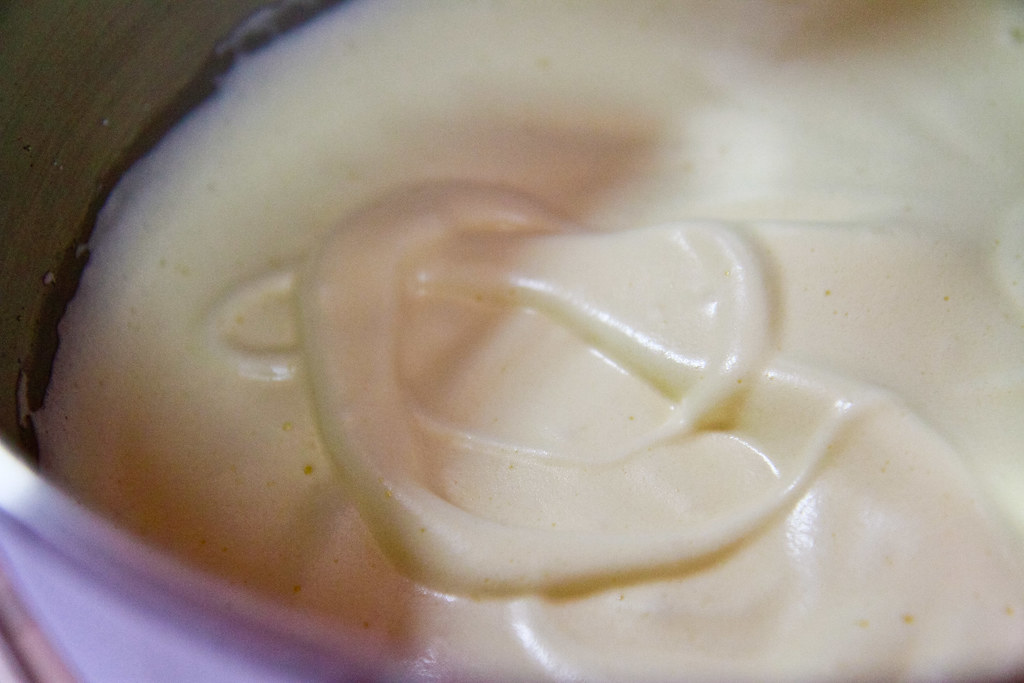 |
| This batter is ready for folding - the ribbon-like trail should take about 10 seconds to disappear. Once this stage is reached, beat for another minute on low speed to stabilize the mixture. |
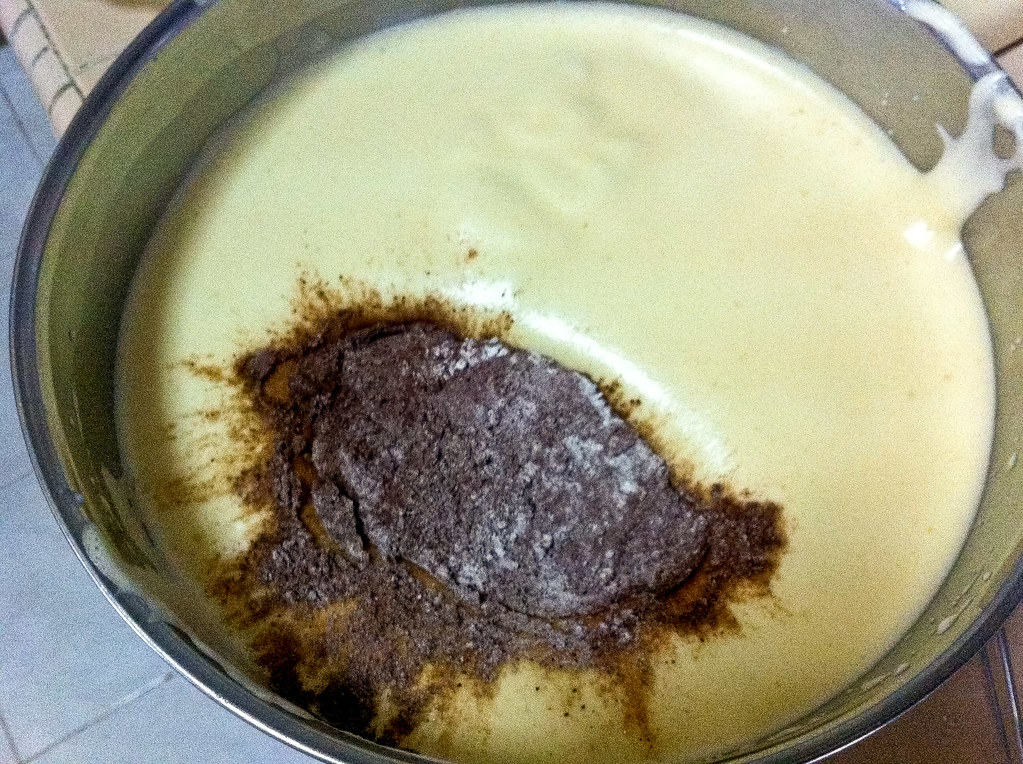 |
| Dump 1/3 of the flour/cocoa mixture into the batter and fold. |
 |
| Fold until all the flour/cocoa mixture has been incorporated. |
 |
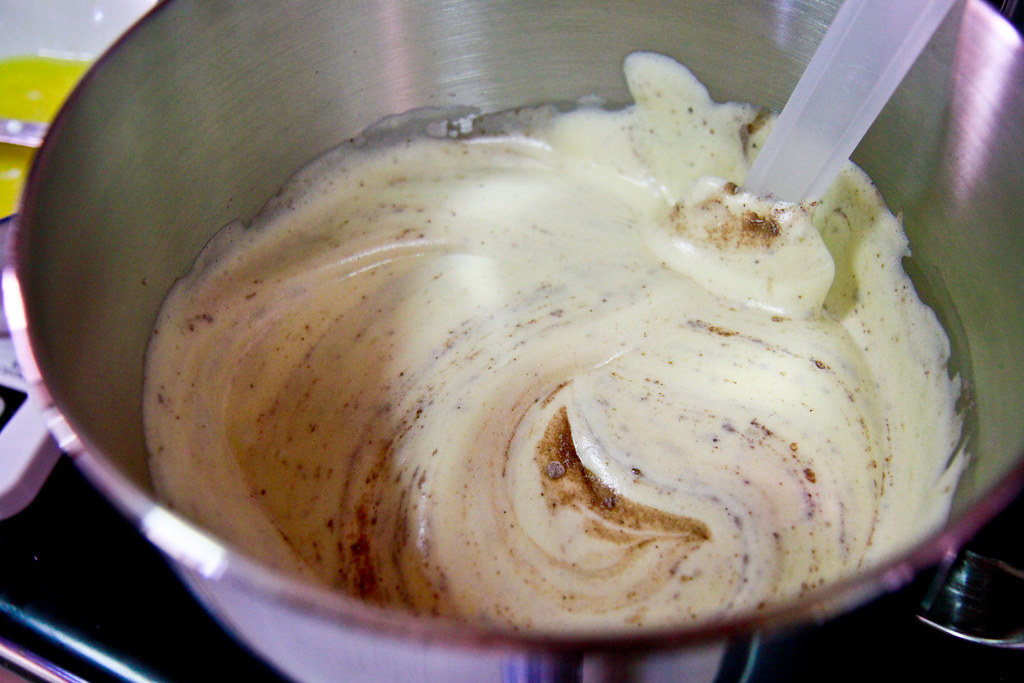
| To the butter and milk mixture, add some of the folded batter to temper before adding it into the batter. Give it a few folds to incorporate before pouring into the prepared pan. |
 |
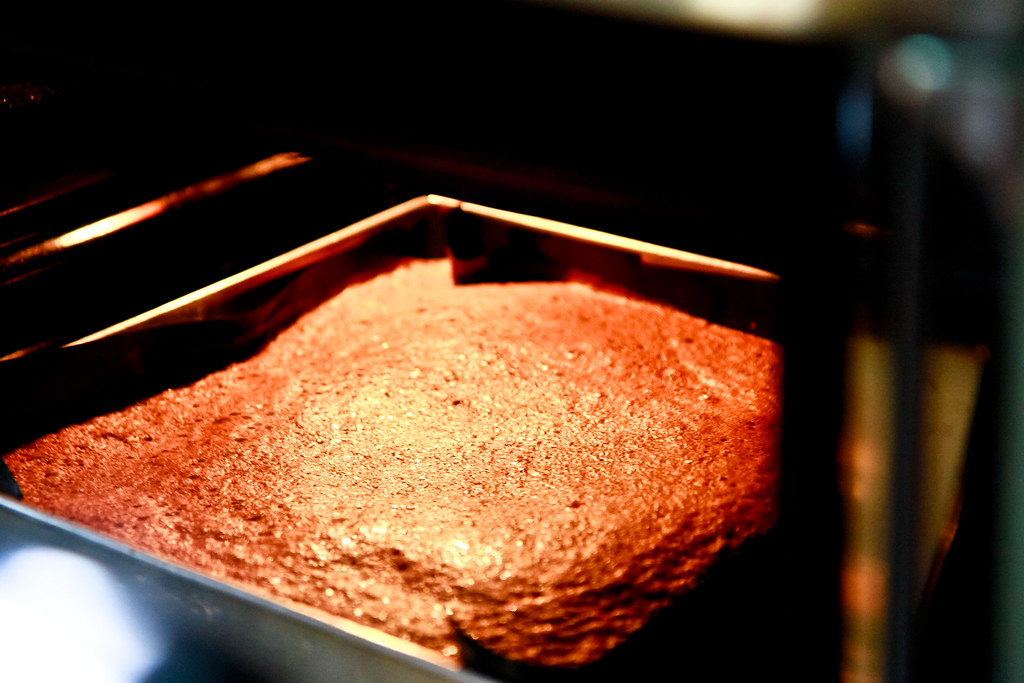
| The cake is in the oven! |
 |
| Halfway through, opening the oven to turn the pan around for even heating. |
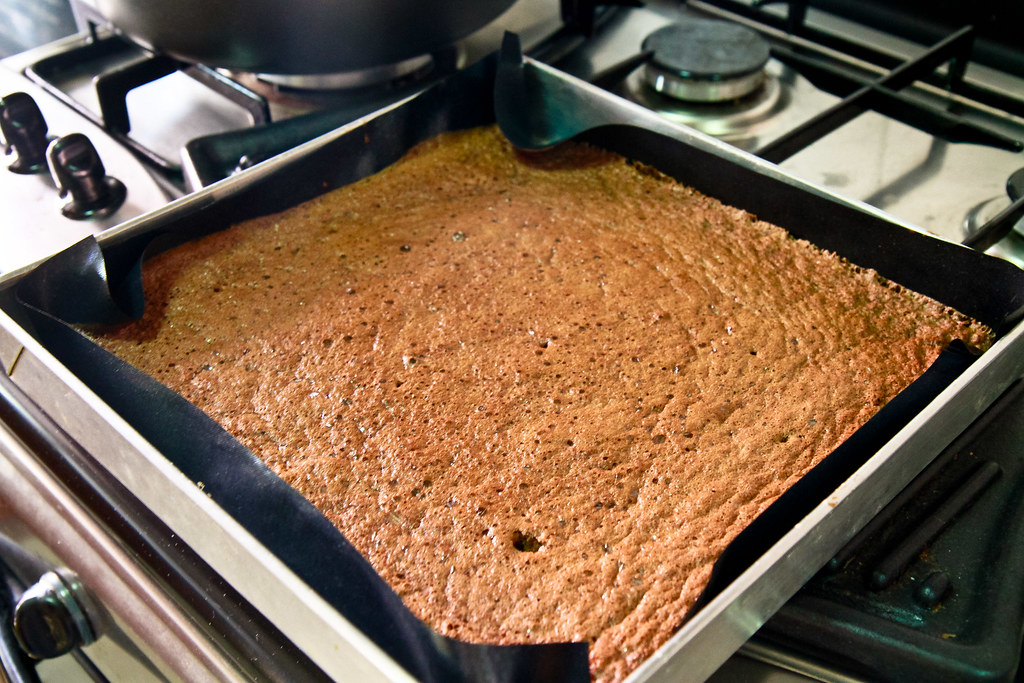 |
| Once the cake springs back when touched, it is done! Cool it for about 10 minutes on a rack. |
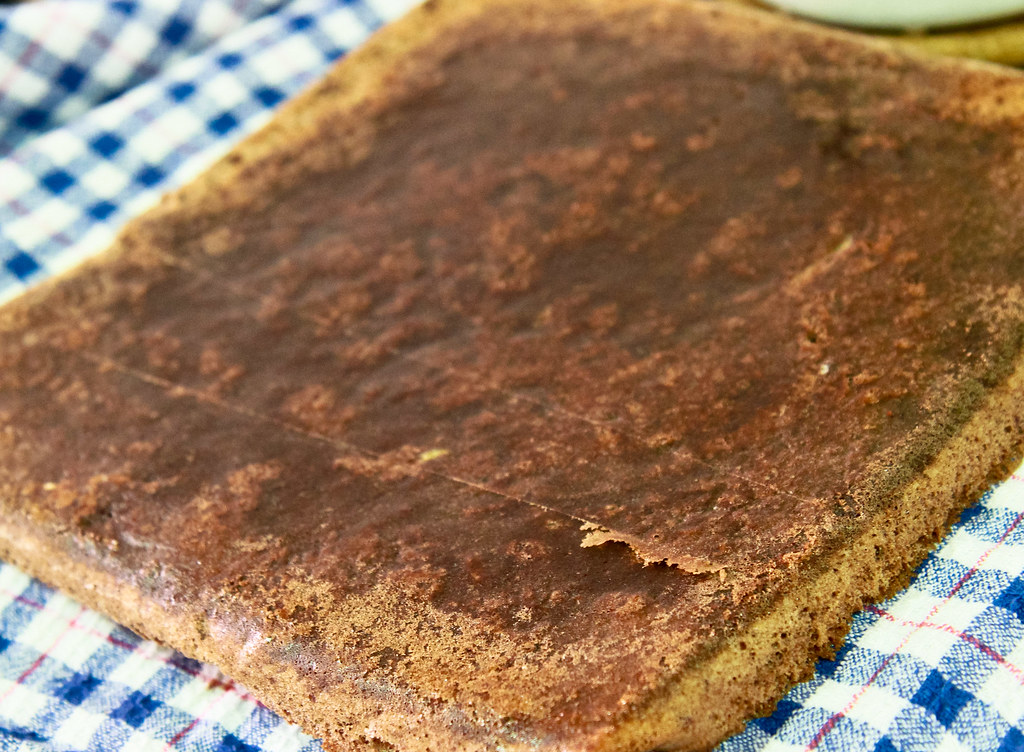 |
| Remove cake from pan onto a slightly damp tea towel. Roll it up and allow it to cool on the cooling rack. Rolling it up when it is still warm reduces the chances of cracking when rolling it up with filling later. The bottom of my cake is slightly burnt because I forgot to take out the extra rack in the oven :/ |
In the meantime, prepare the chocolate ganache first, followed by the whipped cream. No pictures for these, because I was in a huge hurry to get the cake assembled, but here are the recipes:
Dark Chocolate Ganache
Ingredients:
Dark Chocolate Ganache
Ingredients:
257g cream (I used 35% whipping cream)
227g bittersweet chocolate
½ tsp vanilla extract
Note: The original recipe calls for a food processor, but I don’t have one, so this recipe has been modified from the original version.
Method:
Method:
- Chop the chocolate into small pieces, a few cm-wide and place in clean bowl. Pieces do not have to be evenly chopped.
- Heat the cream to boiling point and whisk it slightly before allowing it to cool.
- Once the cream is slightly warm to touch (around 40-50°C), pour into the chopped chocolate pieces and stir. Stir until all the chocolate pieces are melted.
- Allow it to cool completely. At this point, if you want a smoother ganache, strain the mixture over a sieve to remove any unmelted chocolate bits. You can also add in some softened butter if you desire a lighter ganache.
- Allow the ganache to cool and stand for about an hours until it is of frosting consistency. Whisk for a few seconds to aerate. If ganache has thickened too much, reheat using a double boiler or a microwave on low power for about 10 seconds.
Perfect Whipped Cream
Ingredients:
232g cream
13g sugar
0.5tsp vanilla extract
Method:
232g cream
13g sugar
0.5tsp vanilla extract
Method:
- Place the chilled cream and vanilla extract into the mixing bowl and refrigerate for at least 15 minutes. I was in a hurry, so I put the bowl and beater into the freezer for 5 minutes before adding the chilled ingredients into the bowl.
- Sift the icing sugar into the mixture.
- Gradually beat the mixture, starting on low speed before increasing it to medium-high speed. Beat until stiff and glossy peaks form when the beater is raised. Softly whipped peaks are fine as well since this is meant for filling the cake roll.
Assembly
- Unroll the rolled-up and cooled cake before spreading the whipped cream generously onto the cake.
- I only applied a 1.5cm thick layer, which resulted in quite a bit of leftover whipped cream. (I have kept the whipped cream in an airtight container in the chiller compartment of the fridge for 2 days now and it still retains its whipped structure).
Here's a cross section of the cake with the filling:
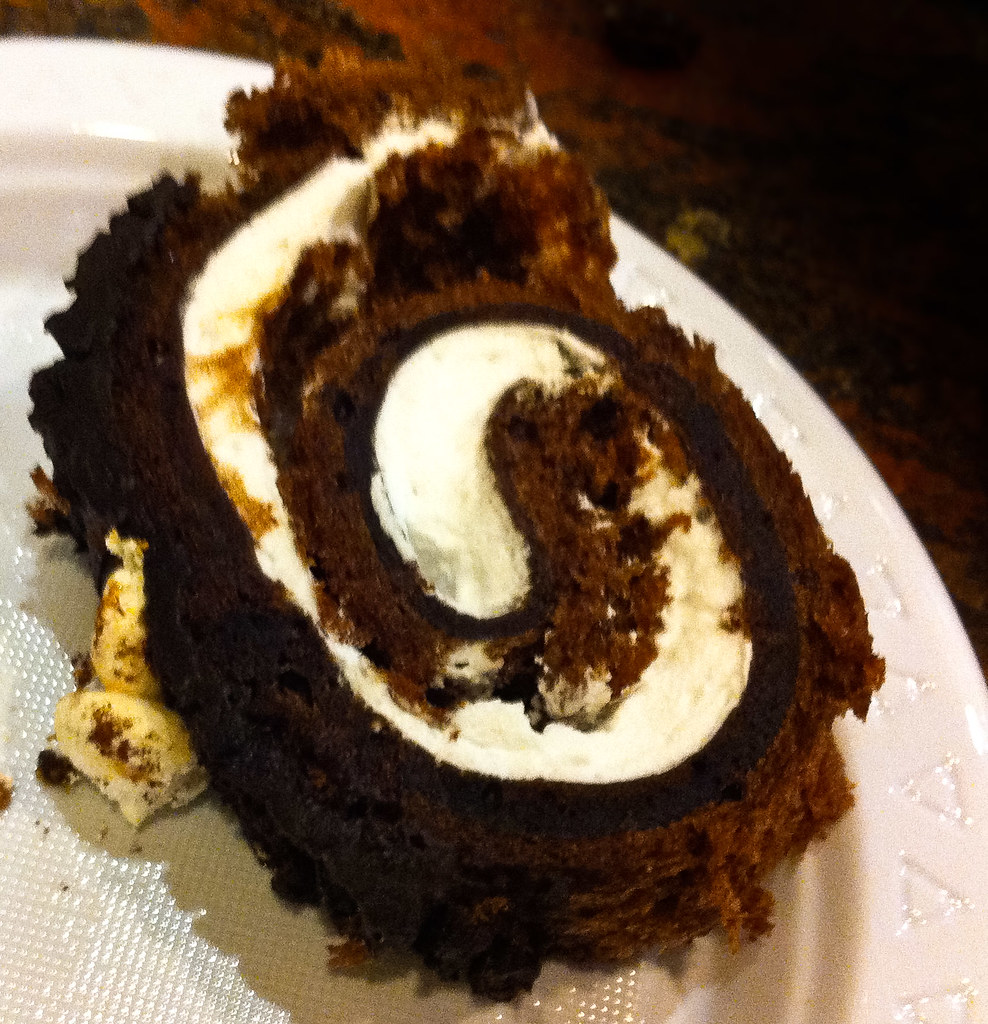
This is another side view before the chocolate ganache frosting is complete. You can use a sieve to add some icing sugar to the log to mimic snowfall :)

Oh, and after a super long period of blog-stalking, I have finally decided to participate in something local - Aspiring Bakers #2: Christmas! (Dec 2010). I've seen many log cake entries for this, but who cares - this is my first time baking a cake requiring assembly and it was a success! And since the aim of Aspiring Bakers is to encourage local bakers to bake and go beyond their limits, I look forward to participating in #3 and foresee myself participating in many more rounds! :)

2 comments:
Thanks for joining this event! Do continue to support. Wishing you a great year in 2011. Happy New year!
hello small small baker! thanks for the wishes and i sure will support if i have the time! thanks for visiting my site :)
Post a Comment