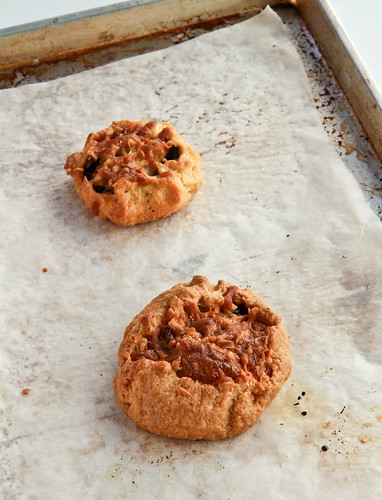
I made these plum galettes some time ago, together with my onion galettes in fact, but my workload's really killing me. Nowadays, I can only bake once or twice per week, and hardly have the time to write up blog posts or even visit other blogs. What I hate most are that the deadlines are so close together and I never know what is expected of me until the very last moment. The administration really is the dumps and I hate the uncertainty of it all. Being the excessive planner that I am, I hate the fact that I don't know what I'll be doing next year or what will await me the following weeks.
Sigh. Anyway, this post is really rushed because I'm trying to make it for the deadline for Aspiring Bakers #10: Easy as Pie (August 2011), which ends today! I actually attempted a few more pie and tart recipes, including another recipe of Portuguese egg tarts, puff pastries and croissants, but I really don't have the time to edit the photos and write out the recipes properly, so I figured I'd just take my time with posting them.
On a separate note, I just remembered that today's 31 August, and that it's Malaysia's National Day! Having studied and been in Singapore for a majority of my life, most of my friends find it strange that I'm still so attached to Malaysia, a country who, besides being my birthplace, has hardly had a hand in my growth or education. In fact, I'm rather ashamed to admit that I only know 2 lines of my national anthem and didn't know that a pledge existed until I was 15, when we had a Malaysia Day celebration in the boarding school I was in. Nevertheless, my roots remain firmly entrenched in Malaysia, and I know that no matter where I'm at, I'll always feel at home in Malaysia, and I'll always be proud of Malaysia (parts, but not all of it). I read somewhere that the Malaysian person is a strange creature - most of us are deeply in love with our country, but have no faith in our government. Perhaps this might be true of other citizens of other countries, but I'm sure this statement is one that many overseas Malaysians can identify with. Sometimes I wish more is being done to lure Malaysians back, because what is a country without its citizens right? The brain drain Malaysia is suffering is no joke, and it stems from neglect really. It pains me to know that so many have left Malaysia, some for good, because of better brighter opportunities elsewhere. However, I also know so many overseas Malaysians who would go back in an instant, only if chances were better and if the environment weren't so discriminatory. Anyway, since this blog of mine focuses on baking, I shall not delve more into the whole politics and government issues, as interested as I am in them, and leave you with my plum galettes.


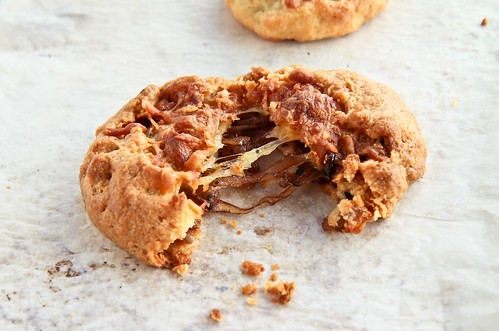
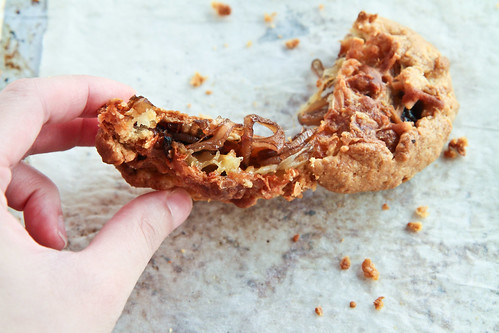
I basically used the same cream cheese pie crust recipe as the one you've seen in my onion galettes because I had cream cheese expiring and I wanted to get rid of it (I made cream cheese muffins with them as well), so this seemed like a good idea. Also, plums were on sale in many supermarkets around the island, so that was a no-brainer, since plums are one of my favorite stone fruits around! Okay this is a lie, because I like all sorts of stone fruits - apricots, nectarines, cherries, peaches - I <3 them all!
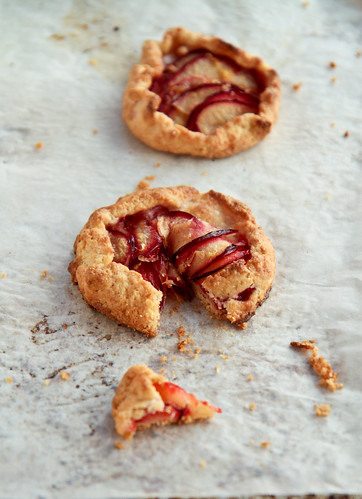
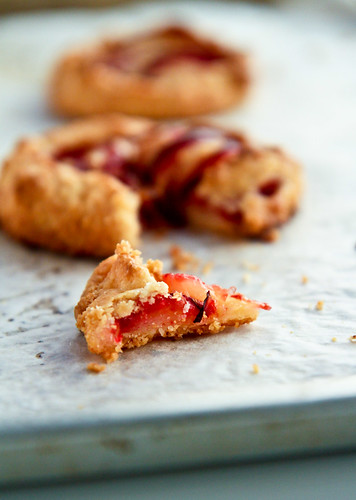
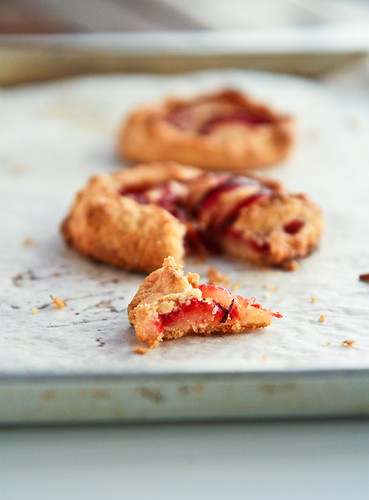
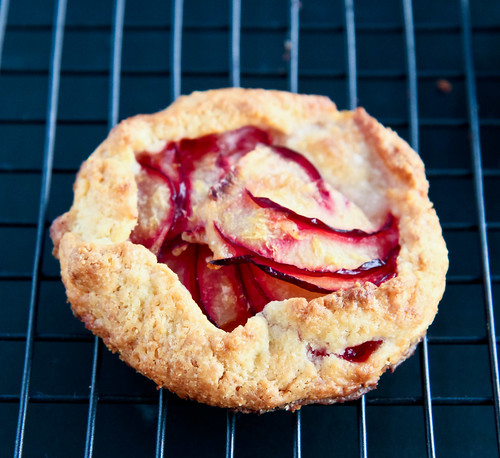
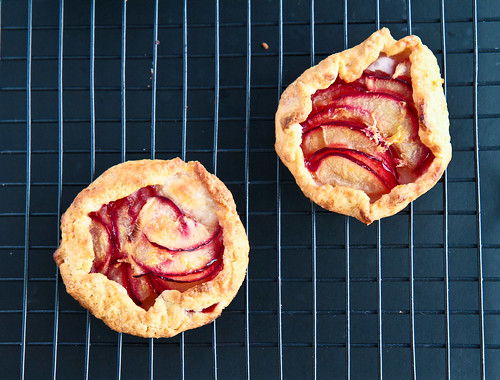
Rustic Plum Galettes
Semolina cream cheese pie crust
Adapted from Rose Levy Beranbaum’s cream cheese pie crust recipe
85 g cold butter
 100 g all-purpose flour
40 g semolina
⅛ tsp salt
⅛ tsp baking powder
64 g cream cheese
14 g water, cold
7 g vinegar
Plum filling
Adapted from Elise at Simply Recipes
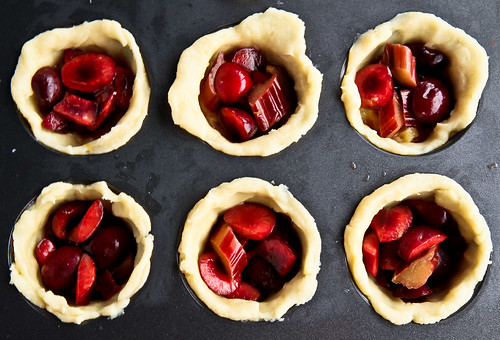
6 small tart plums, pitted and sliced (about 2kg)
Zest from one lemon
30g cornflour
80g sugar
Method:
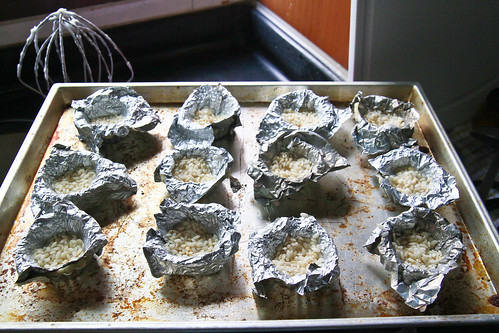
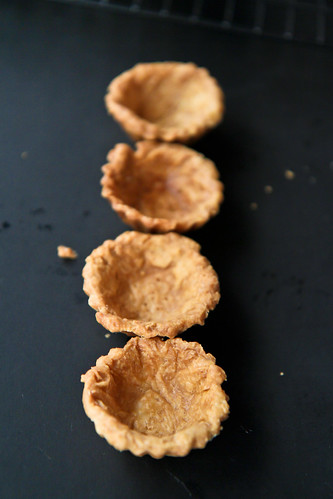
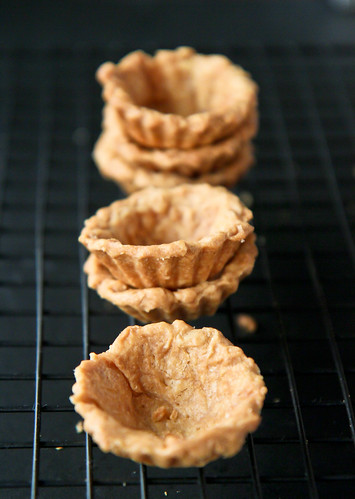
- Place a mixing bowl in the freezer to chill. Combine the flour, semolina, salt and baking powder together in the chilled metal bowl. Add in the cream cheese and rub the mixture between your fingers to blend the cream cheese into the flour until it resembles coarse meal. Add the cubes of cold butter into the flour mixture and continue to combine. Sprinkle the mixture with water and vinegar and briefly knead the mixture until it just comes together. Wrap the dough with plastic wrap and flatten it into a disc. Refrigerate for at least an hour, or preferably overnight.
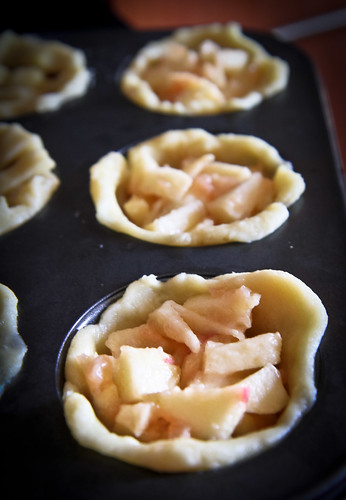
- While the pie crust is chilling in the refrigerator, pit and slice the plums. Gently toss the plums together with the lemon zest, as well as the cornflour and sugar. Leave it to macerate for 15-30 minutes.
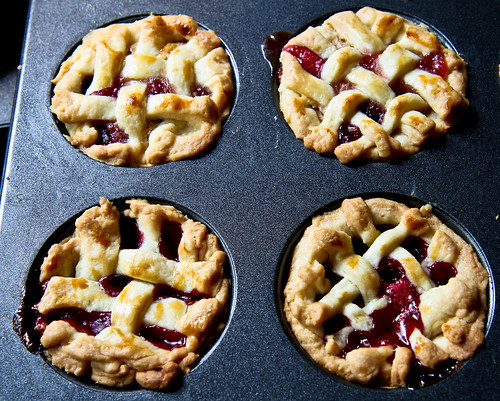
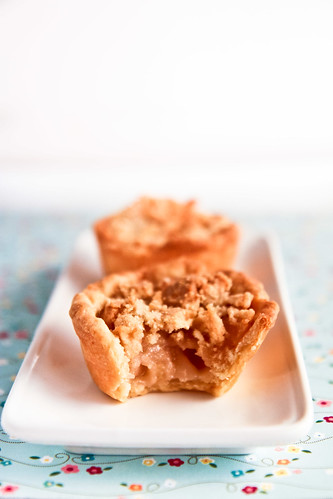
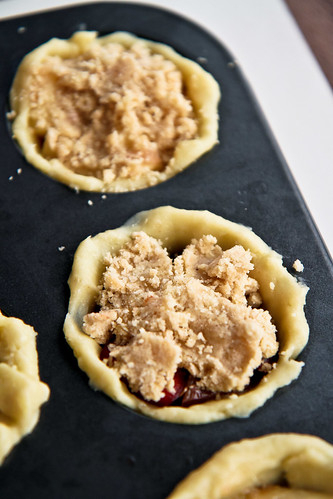
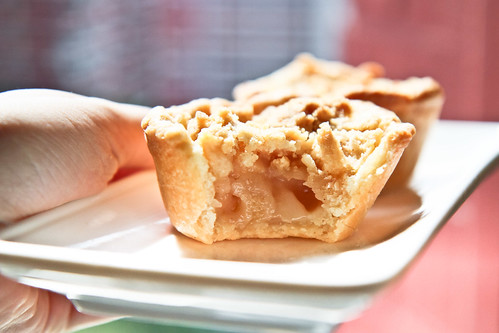
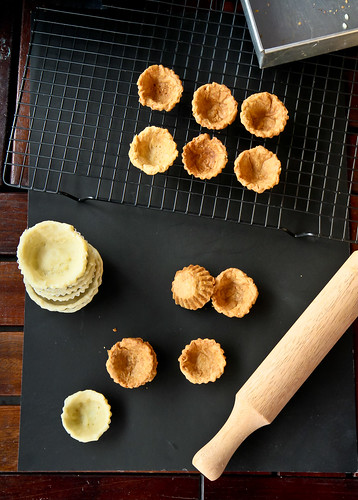
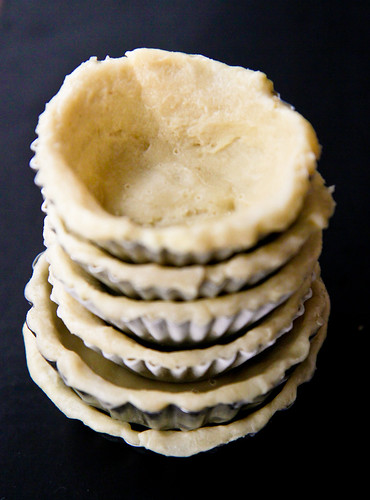
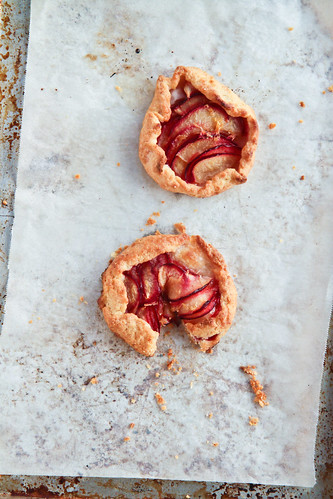
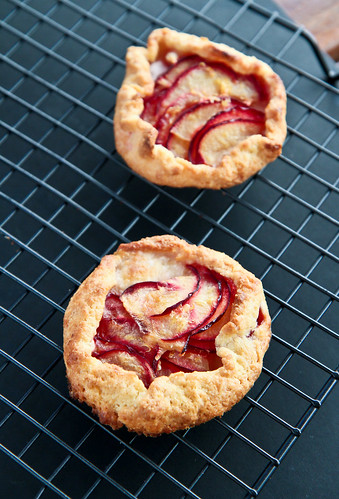
- Preheat the oven to 190°C. Remove the dough from the refrigerator and let it rest for 5 minutes before rolling it out on a well-floured surface. Use an appropriately sized round cutter to cut circles of your desired size. Arrange the plum slices in the centre of the circle, leaving about a 3-cm border around the edges. Fold up the edges of the pastry over your plum filling. Make sure to seal any holes and cracks as you roughly pleat around the edge.
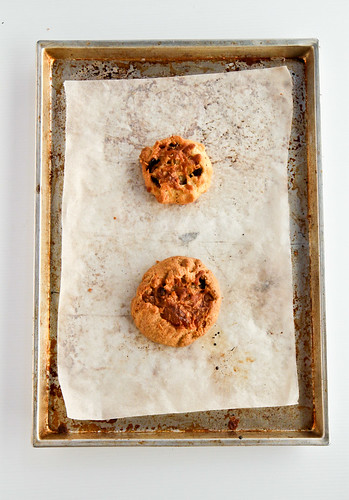
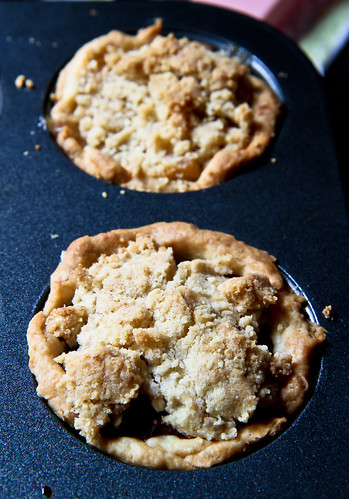
- Place the galettes on a sheet pan lined with baking paper and bake for 15-25 minutes, depending on the size of your galettes. Once the crust browns and the filling is bubbly, your galette is done! Remove to cool for 10 minutes on the tray before cooling on the wire rack for another 20 minutes before consuming. Bon Appétit!
Janine's jots:
- Taste: I used a combination of Demerara and white sugar, which probably explains why the plum galettes were not sweet enough. Or it could be because my plums were slightly under-ripe. I would suggest increasing the sugar to about 100g for extra sweetness.
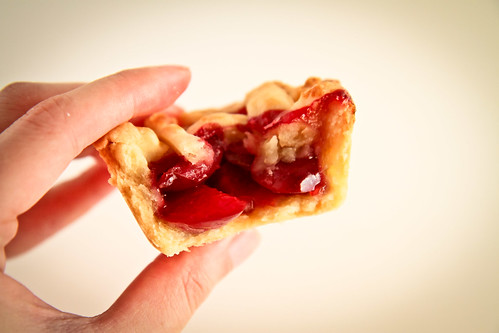
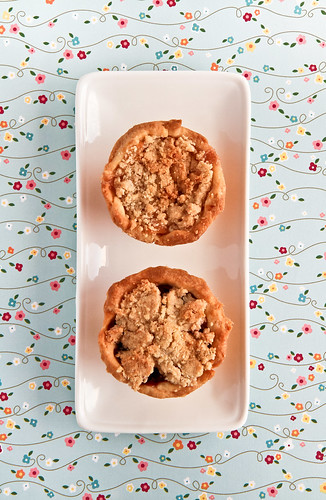
- Texture: Again, the bite from the semolina crust provided a nice contrast to the gooey soft plum filling. I feel that the galette could have benefited from more crunch, perhaps with some almonds as in the original recipe.
- Serving size: This recipe makes enough for 1 huge 9-inch galette or many small ones. I managed to make about a dozen 2-inch galettes with the recipe. I loved the fact that the small ones were really bite sized and easy to bring to work.
- Modifications: Like the onion galette, I felt that the crust could have benefited from some sugar for added sweetness.
- Storage: Unbaked, the pie crust stores well frozen for up to 1 month. I stored mine in the fridge for a week before using it. After baking, do consume it within a day or two, because at 3 days at room temperature, the crust of the galette was not as flaky as before, and did not crisp up in the toaster as well as other types of crust.
- Would I make this again?: Definitely! I've already made plum and onion galettes using this recipe, and have other savory and sweet ideas in mind!