My blog has moved!

You should be automatically redirected in 6 seconds. If not, visit
http://www.unpastiche.com
and update your bookmarks.

Tuesday, December 25, 2012

Two Years On...and I'm migrating (virtually)!

Merry Christmas everyone!

I decided that I should repeat the tradition of updating on Christmas. This year's Christmas is markedly different from last year's, mainly because I'm spending it overseas in Perth with another loved one of mine and I just had a 'barbie' on the beach. That's Aussie for BBQ! It was a novel experience, spending Christmas by the beach, enjoying the gorgeous sunset and the tasty food prepared by yours truly.

I decided that I should repeat last year's post by doing another walk down memory lane. The pickings this year are quite slim, because as compared to 102 posts in 2011, I only wrote 35 posts this year! That's a third but I guess it's understandable considering 2012 was when I got a full-time job which occupies probably 80% of my time.


My Most Beautiful Post and The Post That I Am Most Proud Of 
I guess macarons do photograph very beautifully. Last year's "most beautiful post" was my pink salted caramel macarons and this year, it's my ferrero rocher macarons. Not only were they beautiful, they were delicious too. The only thing I hate about macarons is how finicky it is. Perhaps I haven't got my technique right, but it always seems to be a hit-or-miss deal with me when I'm making macarons.


However, the post that I am most proud of, albeit not a complete post (ie without recipe), is my recent post on what I've been up to. So many reasons why I'm proud of it - I baked 300 cupcakes across 3 weekends, iced them with 12 different types of frosting, baked trays and trays of cookies, and single-handedly raised a sizeable amount for charity! I would definitely want to repeat this next year!


My Most Popular Post 
Again, the list of baking places in Singapore remains the most popular post. However, for a post done in 2012, that would have to be my list of Pizza Places/Pizzerias in Singapore. Come to think of it, my "lists" tend to be really popular, which I guess is good testimony to my information gathering skills (which is an important skill I cultivate on a daily basis thanks to my job).

I do have a few more lists in the pipeline, but as usual, I want everything to be almost perfect before I upload them, hence the delay. 


A Post I Feel Didn’t Get the Attention It Deserved 
Maybe because the photos I took were not spectacular but these chocolate sables were my best selling cookie during the Christmas Charity fair and has been my best cookie so far, according to both friends and family. It is also known as the "World Peace Cookies" by Dorie Greenspan, so do try them out for yourself if you haven't. I can assure you that you will definitely not regret it.

*****

With that, I have a very important announcement to make. For those of you who might have been clicking on the links above, you might have realized that you get sent to a domain called "un pastiche". That is my new domain =] The website is not completely up yet - I still have some remaining things to do like the header and updating the older posts which got screwed up in the process of migrating but I've decided to introduce you guys to my new home on 25 December because of the significance of the date :]

I had a few reasons for migrating, even though it meant losing some readers and the rankings for some of my top posts. One of the main reasons was that I wanted to have a brand which I could use on the products I am selling, which I am increasingly doing, and "not the kitchen sink" sounded a little odd on cake boxes and labels. I also wanted the freedom of my own domain, so well here we go! I spent a good part of the year looking for designers who was willing to do what I wanted within my budget, and boy did I get lucky with Kaiyi. She is a local blogger/designer whom I got to help me design my new blog. I was working with a really tight budget, but I wanted lots of frills for a small budget, and Kaiyi was the only one who fit the bill. And the end result was fantastic :]

I will be updating the blog on unpastiche.com from now on, so please bookmark that page or change your feeds to my new page. I will be holding a couple of giveaways soon in my new home as part of my 'housewarming', so please head on down and keep your eyes peeled! The giveaways are one of my biggest yet and will come from stash bought from Australia!

I'm tucking in early tonight for Boxing Day sales tomorrow - catch you guys around my new home at un pastiche!

Wednesday, December 12, 2012

Tricolor Chocolate Ogura Cake (三色巧克力相思蛋糕) or 'Xiangsi' cake

This is perhaps a very delayed post considering that I baked this some time ago when there was a fad to make this Ogura or Xiangsi cake on the local blogosphere but well, better late than never! Work is gradually slowing down, which is fantastic, because I will be going on leave from 21 December for a short holiday to clear leave (and to relax)! This will be my first Christmas spent in Australia, which should be pretty interesting since it's hot blazing summer there now and in contrast to the hot chocolate, mulled wine and whathaveyou in cold wintery Europe (and the rest of the Northern Hemisphere), Australia will probably celebrate with lots of seafood, fresh berries, light trifles, and loads of chilled wine. YAY! I might even be barbequeing my Christmas away, so I definitely cannot wait for 21 December to arrive! Hopefully the world doesn't end on 20 December or I will die a very sad soul. 

Back to the xiangsi cake. As usual, I am not particularly cautious when it comes to new recipes, especially when it is a recipe which has been raved about by others. So what I did was to gungho-ly try my hand at making my own version of a tricolor chocolate xiangsi cake.


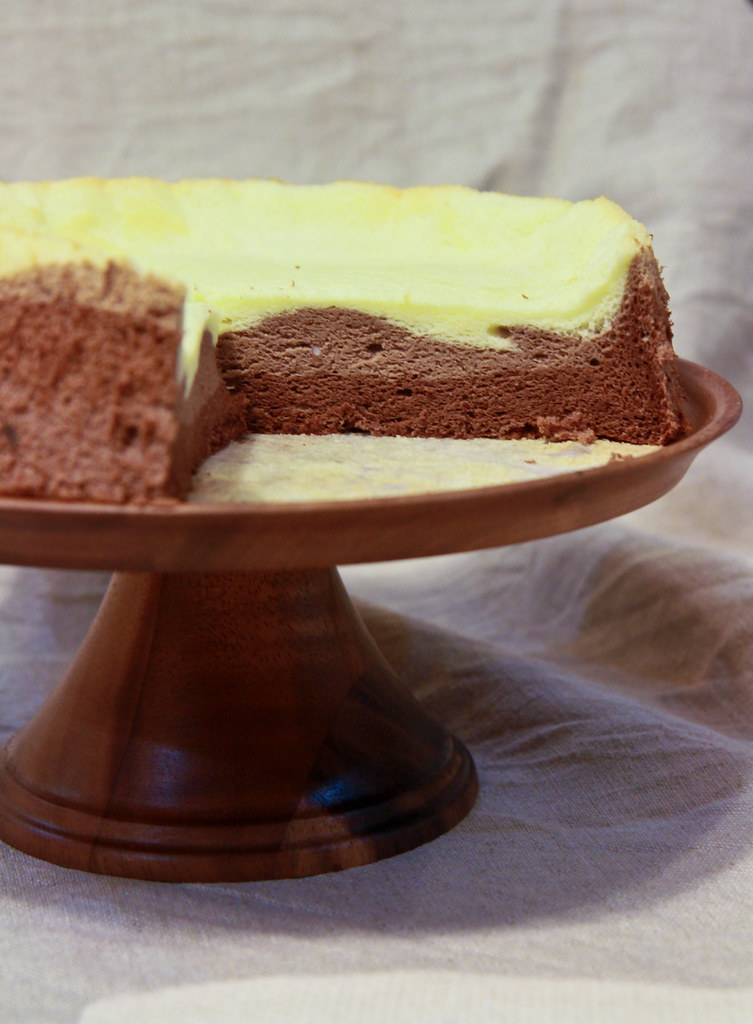
I must say that given that it was my first try, the texture of the cake was pretty good, although the centre deflated because I didn't follow instructions closely enough and inverted the cake right after I took it out of the oven instead of waiting for a while before doing so. Subsequently for my other tries, I have merely cooled the cake in the tin without inverting and results have been great - no deflation, and the cakes are tall, fluffy and super cottony! My mom (and family) has given the (rare) thumbs' up for this cake! :]


For those not in the know, this cake probably originated from Family Bakery (芳鄰西點蛋糕) in Batu Pahat, in the state of Johor. It is about an hour's drive from where I stay, but alas, I have not been able to try the original version of this cake. Apparently, it is called Ogura Cake, but in Chinese, that translates to 相思蛋糕. 相思 literally means pining after someone or being lovesick. The phrase always reminds me of the Chinese poem (唐诗) of the same title, which I used to learn in primary school. I hope that the primary school kids now are still learning the poem, amongst others, and that it has not been removed from the syllabus because it is 'too difficult'.

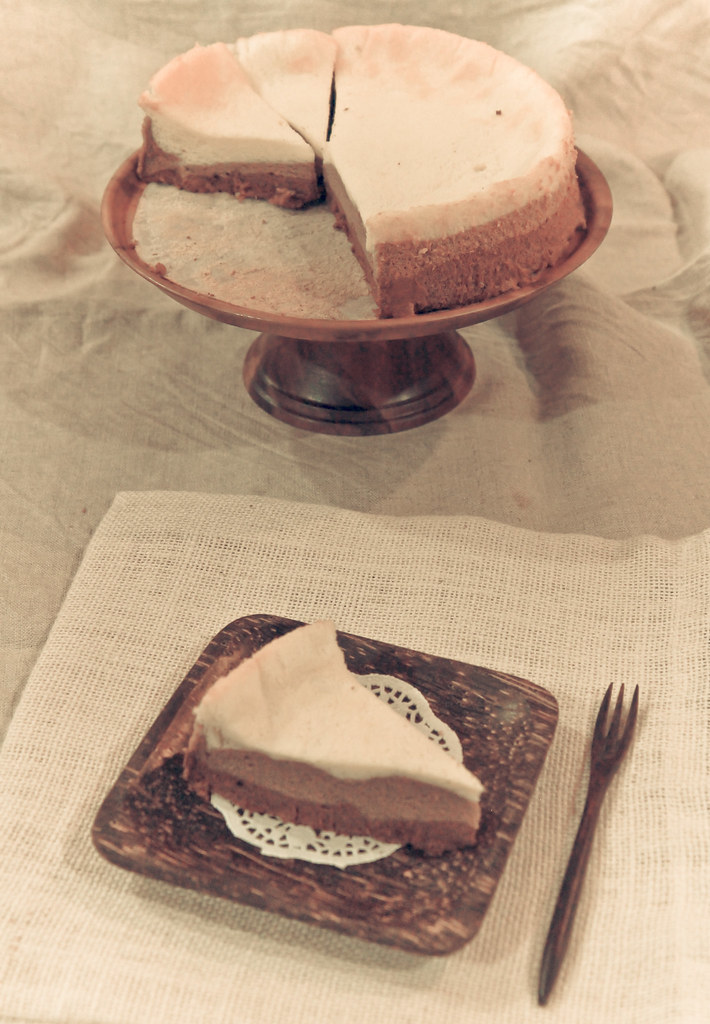
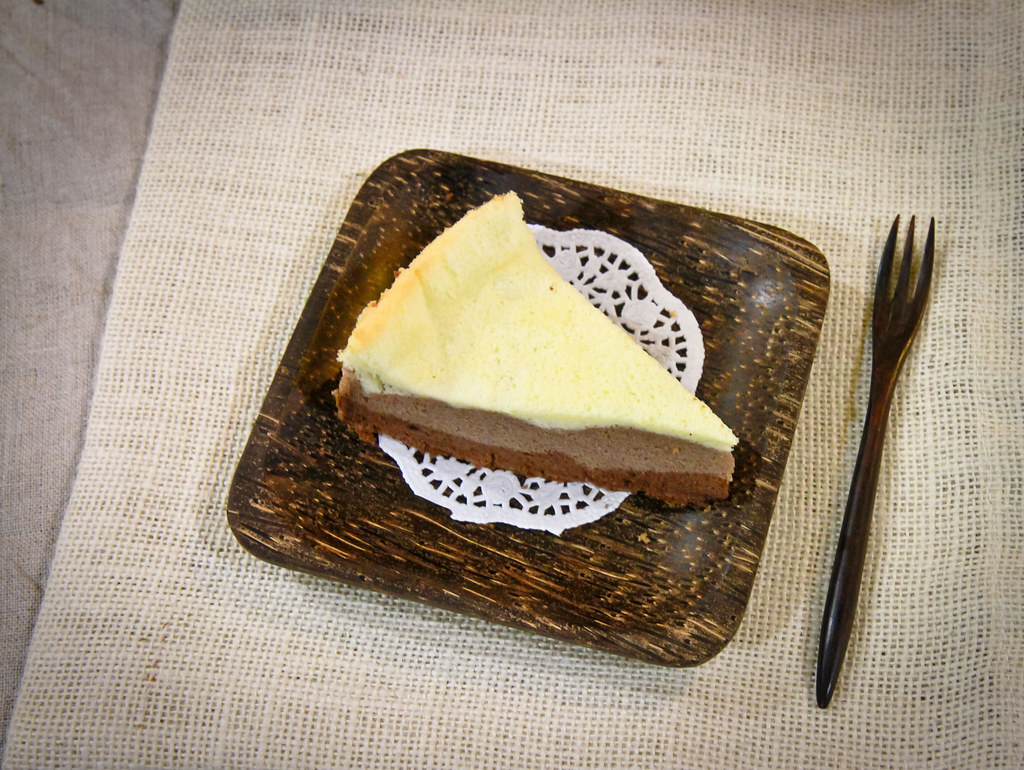
Anyways, because this sponge cake is baked using the steam bake method, it has a similar texture to the japanese cheesecake or any other cake which is made using the same method. Check out the cottony texture below:


Tricolor Chocolate Ogura Cake (三色巧克力相思蛋糕)
Makes a 7" square cake
Adapted from Siew Hwei, but do check out Sonia's for very useful pictures and tips for a successful cake

A:
45g neutral-flavoured oil (I used sunflower oil)
55g milk
¼ tsp salt 
100g egg yolks (or yolks from 5 eggs)
65g all-purpose flour
½ tsp vanilla extract

B:
150-170g egg whites (or whites from 5 eggs)
65g castor sugar
½ tsp lemon juice 

C: 
3g cocoa powder
10g hot water

D: 
7g cocoa powder (about 1 tbl)
10g hot water 

E: 
10g milk 

Method:
  1. Place the rack at the second-lowest (slightly below the middle) position and preheat the oven at 160°C. Set the other rack at the lowest position. 
  2. Place all the ingredients in A in a small mixing bowl. Mix well and separate the batter into 3 equal portions/bowls. Mix the cocoa powder and hot water (from C) together, making sure there are no lumps. Mix it into one portion of the batter and set aside. Repeat for D and another third of the batter. Finally, add milk into the final third of the batter and set aside. You should now have three bowls of batter in 3 different shades - yellow, light brown and brown. 
  3. Place all the ingredients in B into another mixing bowl, and using your handheld or stand mixer,  beat until you get stiff peaks. Divide the meringue into three equal portions and fold each third into each of the three bowls of batter, making sure to fold gently until all the meringue has been incorporated. 
  4.  Starting with the darkest batter, pour it into a lined square pan (I used a 7" square pan). Next, pour in the light brown batter followed by the yellow batter. Lightly tap the pan against the counter to remove any air bubbles. 
  5. If you have two racks, place a tray of water on the lowest rack, and place your cake on the second-lowest rack to bake. If you only have one rack, you can place your cake into the tray of water and bake on the second-lowest rack or you can use small tart moulds or microwave safe bowls filled with water at the side of the pan to bake. 
  6. Bake for approximately 45 minutes at 160°C, or until a cake skewer comes out clean. Remove the cake and allow it to cool in the pan for at least 15 minutes before inverting it and removing the pan and liner. This is to ensure that the bottom does not deflate and that moisture does not collect on the liner, making the bottom of the cake wet and sticky. Allow the cake to cool completely on a wire rack before consuming. 

Sorry the photos are quite bad this time because it was at night and I had to make use of my dining table which has the most horrible spot lights and yellow lights :/ (Hence the different color tones in different pictures)

Janine's jots:
  • Taste: I love the sweetness of the cake, which means that it probably is not sweet enough for most people. For the chocolate variation, I would recommend using at least 70g of castor sugar or more. 
  • Texture: I love the texture. It makes the cake very light and very addictive! And the texture of the refrigerated cake is equally yummy!
  • Modifications: For a normal chocolate cake, just replace ingredients from C, D, E with 10-15g of cocoa powder and 25g of hot water. Use 10g for a less intense chocolatey cake and use 15g for a more chocolatey cake. You can also slice the cake in half to add cream if you don't want a plain cake. Also, as I have not used 6 eggs as most other recipes have recommended, my cake will not be as high should you choose to use a 8" square pan. 
  • Storage: As the cake has a high moisture content, do try to consume it within 2 days for the best texture. Otherwise, it would be best to keep the cake refrigerated. It can keep in the fridge for a week or more. 
  • Would I make this again?: Definitely! I have gone on to make this a couple more times, but without the tricolour effect and with other flavour variations. This is essentially a sponge cake with endless possibilities!


Sunday, December 2, 2012

What I've been up to lately

This is probably my longest absence from the blog - the last post was in September and it's already December! Time really flies, and I can't wait for Christmas to arrive! I was swamped at work for the past two months, and in November, I was swamped with orders for cupcakes and cookies, thanks to the company's charity food fair which I chose to participate in. 

So here's what I've been up to lately, in pictures. 

I've been up to my eyeballs in cupcakes - I made cupcakes for a 1st birthday - chocolate cupcakes with a vanilla cooked flour frosting (really delish btw!). Although the focussing and lighting, as well as the posture of my mother's hands below are a bit off, I really like it because of the lines and veins that are visible. Reminds me that my mom's hands are aging and so is she! Ps: belated happy birthday mommy!


Also for the 1st birthday party, some safari-themed cookies! Some of them turned out pretty good, but I wasn't too satisfied for the monkey and lion cookies because the icing separated and there were visible bubbles! =X Those became food for my dogs instead. 


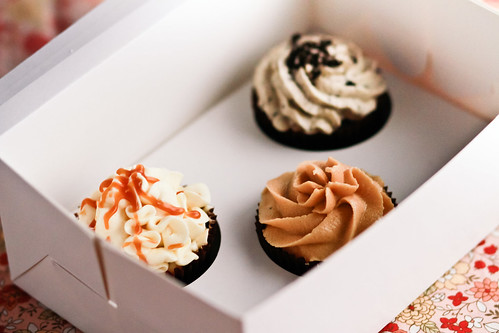
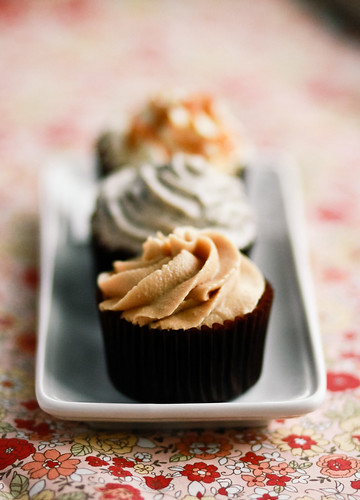
Next up, the food fair I was talking about. I was mighty pleased with myself, because I managed to sell approximately 300+ cupcakes (consisting of pre-orders) and more than 20 jars of cookies! That raked in $2000 of funds for the Children's Cancer Foundation! =D If only my mom were around to help me bake - if she were and if my grandma weren't sick, I could have definitely taken in more orders, but well...family first! I sold 13 flavours of cupcakes (on hindsight, I might have been a bit too ambitious) and the flavours you see below are salted caramel, peanut butter and cookies & cream. Initially, I taste tested almost every tray of cookie and cake because I wanted to be sure of the quality but I eventually got a really bad sore throat and I decided that I was confident enough about my goods not to need to try every single tray. The cupcakes were quite well received and I must say that I have become quite adept at making cupcakes and frosting - so much so that I can confidently say that I can manage 100 cupcakes of a single flavour in a couple of hours! 


Another gratuitous photograph. This photo, as well as the one before and after this was taken with my new lens, a 85mm 1.8. I must say that I like the depth of field, but the shutter speed is a little slow :/


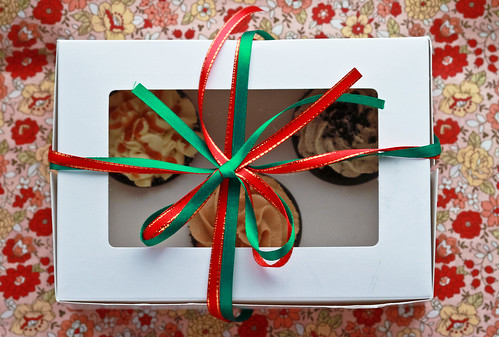
How christmassy eh? ;p


And finally, here's some of the cookies I sold at the fair. Most of them were very welcomed - especially my earl grey sable, vanilla sable and chocolate sable! Recipes to follow (soon I hope). 


Because it's been some time, I've been finding it hard to write a proper recipe post - but I do have a great number of backlog recipes to clear! Stay tuned for the recipes to the pictures above soon! :]

Related Posts Plugin for WordPress, Blogger...