Today's a very special day for me, because it's my mom's 50th birthday =D Happy Birthday Mummy - may you look younger as the days go by and have less worries because I'm going to start work soon and you'll have more pocket money (from me) soon hehe ;p
I actually drafted those two paragraphs in the morning, but hey hey, things change and change they did! By a stroke of luck, my brother managed to get a day out from army, having done duty over a festive holiday; the other brother came home from school early; my dad took leave, and why - I took time out to make a cake for my mommy dearest =D

Yes, I'm not kidding you - I used just eggs, flour and sugar, with some coloring for this cake. And whipped cream of course. Hopefully I'll find time to blog about this cake soon-ish, because I completed the entire cake in less than 90 minutes. The cake layers take 15 minutes to bake each, so everything was chop-chop. And best thing of the day was, the cake was finished by everyone. Like how rare is that? I've mentioned previously that my brothers don't eat my cakes because they think they are horrible, but they finished this cake :] My mom had seconds and my dad too. WHEE :] And I'm the happiest person of all. I think my mom was pleasantly surprised because all her children are home and she got a double surprise birthday cake (it was an all-white cake and I told her that there's a surprise inside) hehe.
***

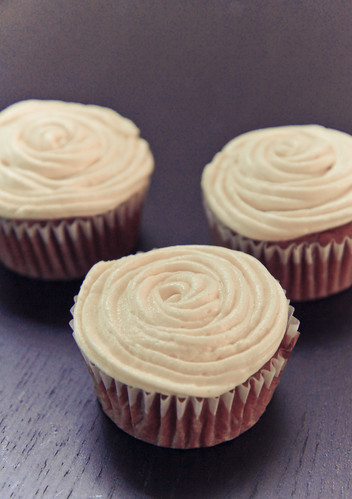
Now, onto these cupcakes. Over the past year, I have experimented with more than enough chocolate cupcake recipes - in fact, I think I have experimented with close to 20 different recipes! I have a few favorites, but I always forget to take photographs of the cupcakes, so the recipes are not posted yet. These cupcakes are the result of last week's experiment, and the recipe is in my top-three chocolate cupcake recipes. The original recipe received over 600 rave reviews, and having made it a few times (to experiment and for my cousin's baby shower), I have simplified the method to a one-bowl recipe. This is perfect, because the other recipes I have use the creaming method, and since I'm usually very lazy, one bowl is definitely the way to go.
One-bowl Ultimate Chocolate Cupcakes
Very loosely adapted from BBC Good Food’s Ultimate Chocolate Cake
Makes 6-9 standard cupcakes, depending on how much you fill the cupcake
50g dark chocolate, of at least 50% cocoa solids
50g unsalted butter, cubed
¼ tsp instant coffee granules, dissolved in 25ml water
45g all-purpose flour
½ tsp baking powder
⅛ tsp salt
⅛ tsp baking soda
35g soft brown sugar
40g fine granulated sugar (or castor sugar)
7g cocoa powder
1 egg
20ml buttermilk
Method:
- Preheat the oven to 140°C (fan-forced) or 160°C (conventional).
- Place the coffee granules in a large metal bowl over a pot of simmering water. Add in the cold water to dissolve the coffee granules. Add in the chocolate pieces, together with the butter. Add in the cocoa powder to dissolve as well. Stir gently until everything is melted and well combined. Alternatively, you can microwave the mixture on low for about 3 minutes. Allow the mixture to cool.
- Meanwhile, combine the flour, baking soda, baking powder, salt and sugars.
- Stir in the buttermilk into the melted chocolate mixture and mix well. Test the mixture to see if it is warm (should be slightly warm to your finger). Then, crack in the egg and mix well. The mixture should not be too hot otherwise the egg will cook.
- Once the egg is fully incorporated, add in the dry ingredients and mix well.
- Spoon the batter into prepared cupcake liners, filling to about half full only. Place in the oven for about 20 minutes, testing at the 18 minute mark with a cake skewer. Allow the cupcakes to cool in the tins for about 10 minutes before removing to cool on a wire rack.
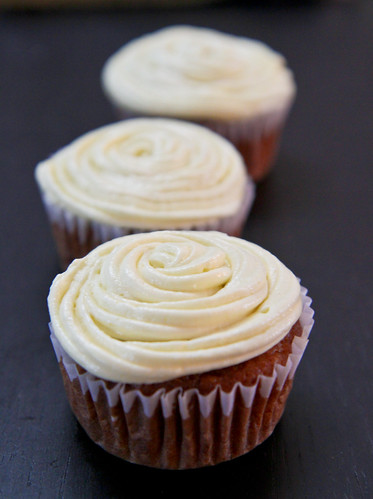
- Once the cupcakes have cooled, you can proceed to decorate them with a ganache or buttercream frosting.
Janine's jots:
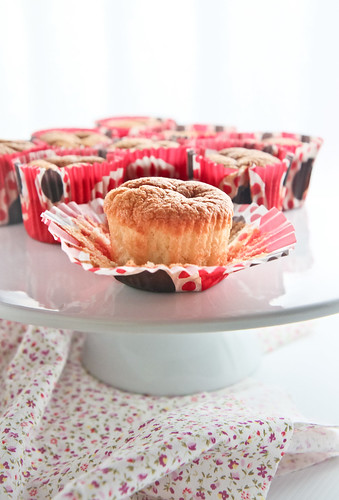
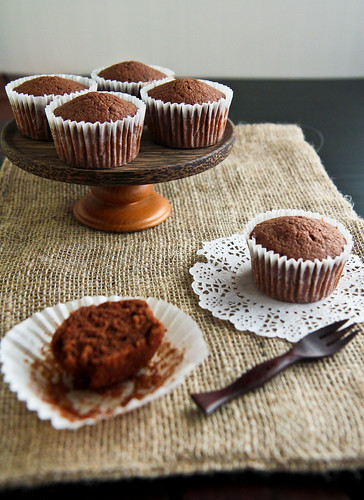
- Note: Do not worry if for the first 8 minutes you do not see the cupcakes rising. The cupcakes have a slow rise, but once they do, they go crazy. My less than half filled cupcakes gave me the results you see here. They all have domed tops.
- Taste: Just a tip, if your chocolate has a lesser cocoa content but you still want that bittersweetness to come through, increase the amount of cocoa powder to a maximum of 15g – this will mimic the bittersweet chocolate, but make sure your cocoa powder is of good quality. Also make sure you use good quality instant coffee, because the taste of coffee (very slight but is discernible) and chocolate will linger on in the mouth after eating the cupcake.
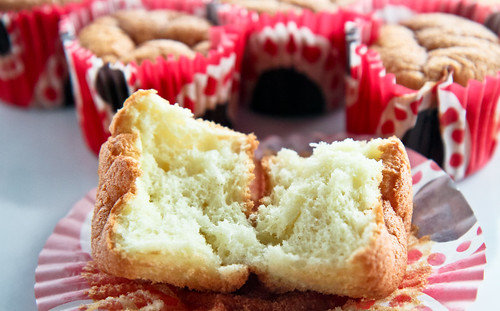
- Texture: The cupcakes are sufficiently moist, with a fine crumb. They are not too crumbly, which is what I prefer.
- Serving size: This is the quartered version of the original recipe, and I have tweaked the baking agents proportions to reflect that. I have tried this recipe and it works very well. Depending on how much you fill the cupcake liners, you can get a maximum of 10 cupcakes (filled about 40% each), with the cupcakes doming slightly above the cupcake liner, or if you want a huge naked cupcake, fill it to 75%, and you will get 6 huge domed cupcakes/muffins.
- Modifications: The original recipe called for buttermilk, but I didn’t have that, so I substituted it with milk and vinegar. I used the proportions of 18ml milk with 5ml vinegar, which is more vinegar than usual, but it worked well. I also drastically reduced the amounts of sugar required (50g each) to 35g and 40g. I tried this recipe another time, further reducing the sugar to a total of 60g and it was still okay for me, but some tasters (ie family members) thought that it should be a tad sweeter since the chocolate taste was rather intense. I originally used less water and milk in the recipe, but I have found after trying this a few times that you can use quite a large amount of liquid in this recipe – it is pretty forgiving – to get a more moist cupcake. I have used a total of 60ml liquid instead of the 45ml total.
- Storage: The cupcakes keep well at room temperature for a week, although the tops get a little sticky towards the end of the week. You can also keep them in an airtight container in the fridge, they do not dry out dramatically.
- Would I make this again?: Definitely! The reviewers and the title did not lie, it really is an 'ultimate chocolate cake' recipe. I made this for my cousin's baby shower and many people liked them, preferring them to the ordered cupcakes which had shortening frosting :X That being said, I still have another favorite chocolate cupcake recipe which I have yet to share. I prefer the texture of that recipe.
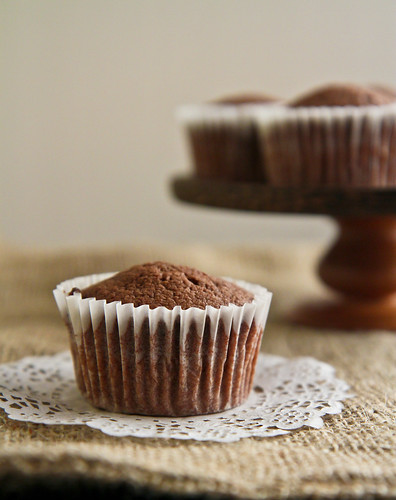 |
| Tiny dome from filling the cupcakes to 50% |
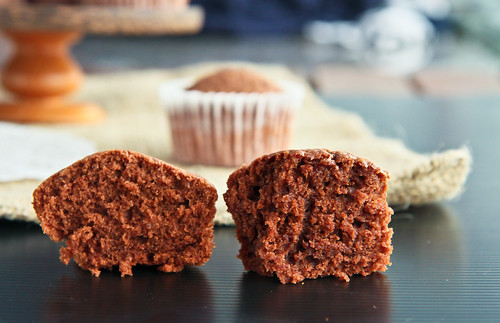 |
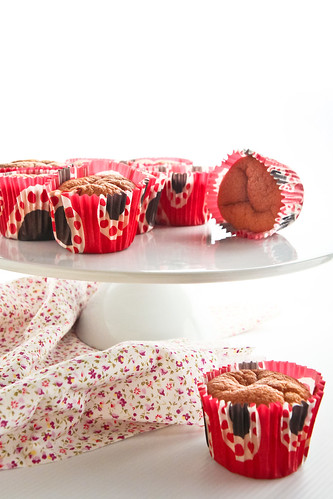
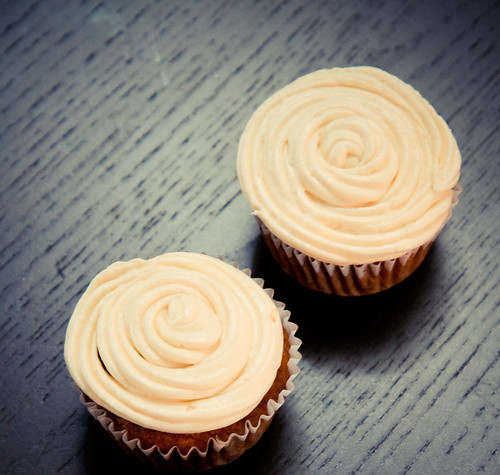
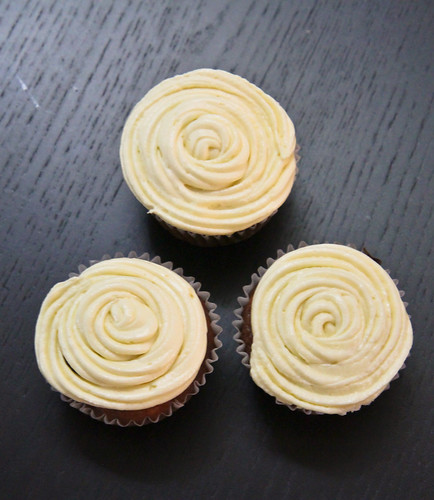
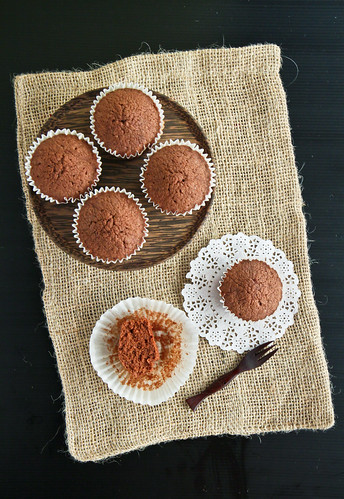
| Left: BBC; Right: Taste recipes |
In this picture, you can see a comparison of yet another chocolate cupcake recipe I tried. It is meant to be a normal cake recipe, but I made them into cupcakes instead. There are very very slight differences to both recipes - even as I look at the photo above, I can't really tell which is which. As you will see, proportions are almost similar, with very slight variation, but as will be explained in my jots below, I preferred the ultimate recipe to this recipe below.
Classic chocolate cupcakes
50g dark chocolate, of at least 50% cocoa solids
56g unsalted butter, softened
55g castor sugar
¼ tsp vanilla extract
Very loosely adapted from Taste.com.au, first sighted at Ju's
Makes 6 standard cupcakes
50g all-purpose flour
¼ tsp baking powder
⅛ tsp salt
⅛ tsp baking soda
Makes 6 standard cupcakes
50g all-purpose flour
¼ tsp baking powder
⅛ tsp salt
⅛ tsp baking soda
5g cocoa powder
50g dark chocolate, of at least 50% cocoa solids
56g unsalted butter, softened
55g castor sugar
¼ tsp vanilla extract
1 egg
32ml milk
Method:
32ml milk
Method:
- Preheat the oven to 160°C.
- Melt the chocolate over a bain marie or in a microwave oven and let it cool.
- Sift the dry ingredients - flour, baking powder, salt, baking soda and cocoa powder together. Set aside.
- Beat the softened butter together with the sugar, until creamy and fluffy. Add in the vanilla extract, followed by the egg.
- Add in the cooled melted chocolate. Next, add in half of the dry ingredients, making sure to incorporate all the dry ingredients before adding in half of the milk. Add in half of the remaining dry ingredients (25% of the total), alternating with the final half of the milk and ending with the addition of dry ingredients. Beat until everything is well incorporated.
- Spoon the batter into prepared cupcake liners and bake for 18-25 minutes, checking at the 20th minute to see if the cupcakes are done. Allow the cupcakes to cool in the tins for about 10 minutes before removing to cool on a wire rack.
- Once the cupcakes have cooled, you can proceed to decorate them with a ganache or buttercream frosting.
Janine's jots:
- Note: For both recipes, I used the exact same butter, chocolate and cocoa powder, as well as weight of eggs and other dry ingredients. This was to make sure that this mini taste test would be a fair one.
- Taste: I felt that the chocolate taste was not as strong in this recipe, perhaps because there was no coffee to enhance the flavor of the chocolate and because there was 2g less cocoa in this recipe. I thought the addition of brown sugar in the BBC recipe helped enhance the chocolate flavor as well, bringing a slight maltiness which is very slightly discernible (I used Muscavado).
- Texture: I thought that this recipe was slightly more crumbly than the BBC's one, which I didn't like. The cupcakes did not rise as much as the BBC ones as well, probably because of the smaller amount of baking powder used.
- Would I make this again?: Not really, because I far prefer BBC's recipe. Also, although crumb might be finer for this recipe, this recipe is troublesome if you consider that you can get equivalent or better results with a one-bowl recipe. I don't have to wash extra beaters ;p Nevertheless, this is not a bad tasting recipe, but I would definitely use homemade buttermilk, and add coffee to the recipe the next time, to up the flavors a little.
I'll be submitting these two recipes to Min for Aspiring Bakers #13: Enjoy Cupcakes! (November 2011). If you do try these recipes, do drop me a comment and let me know how you like them!